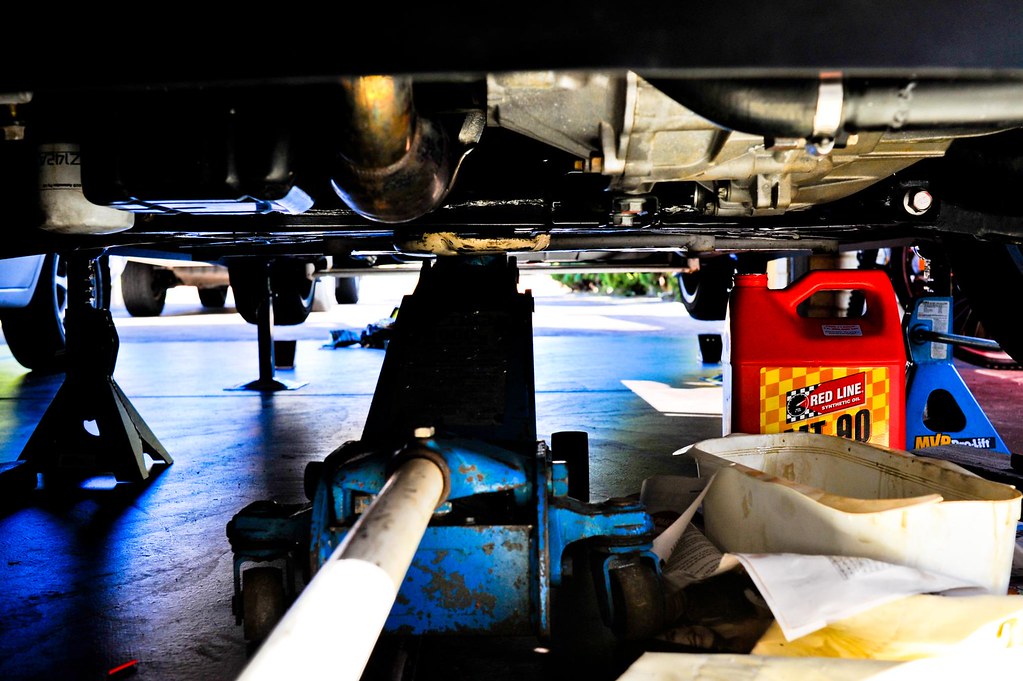
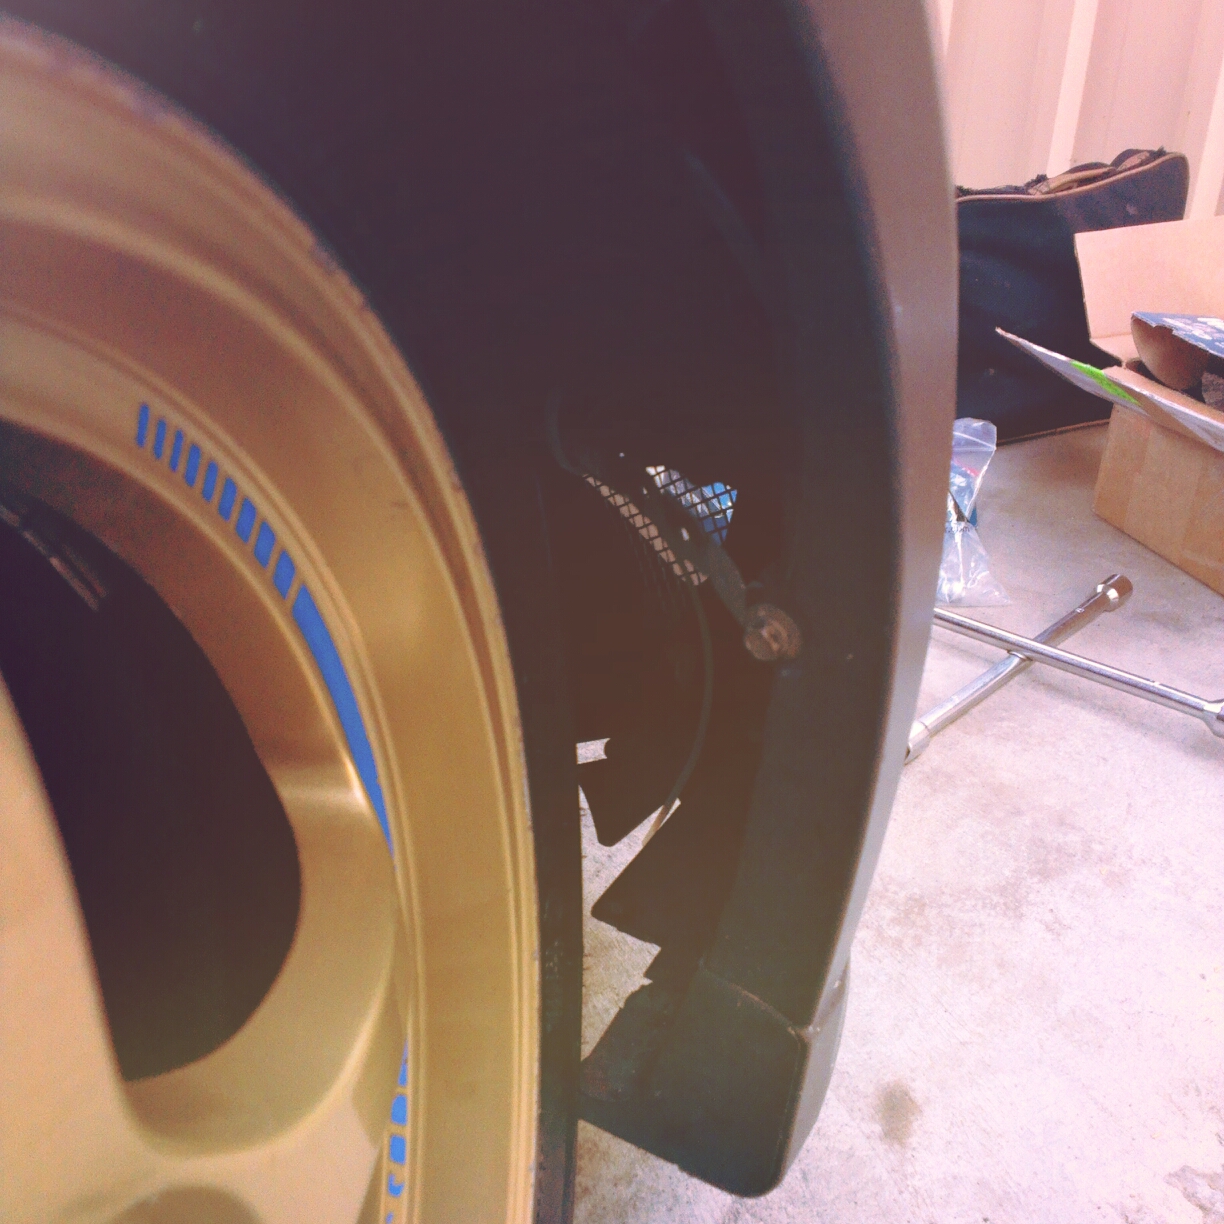
Thursday, May 9, 2013

My Growing Collection Of Forged Builds


Intro
In the next series of posts i hope to touch on some of the beastly builds going around. I gathered some info from the forums as well as Facebook. I hope these builds uncover possible configurations of the Colt. People spent a lot of time and money to make these various configurations work. Researching parts, RnD, fabrication etc.


In summary:
 - Jems build - netting 220kw and pushing for 250-260kw (hub dyno) with a GT2860RS forged bottom end and a complete worked head with stage two cams - TBC (Expired Info)

- Judas build - netting 180kw (roller dyno) and pushing for a clean 200kw with a EFR6258 Build

- Steel - netting 200kw with GTX2860R

- Georg Krüger - Forged internals, headwork (ported) using GT2571


NOTE ON CAMS:
  I am yet to workout the different cams going around but this is some info i got a couple years back when i bought my stage 1 cams and Jem got his stage 2.

This was the only specs I found regarding my possible stage 1 cams.
Stage 1 235/238
Stage 1.5 - 248
Stage 2 - 260
Stage 3 - 272
Stage 4 - 272 (high lift)


Cam Height that i measured:
OEM Specs =
Intake 35.08mm
Exhaust 34.26mm

My Stage 1 Specs =
Intake 35.61mm (0.53+)
Exhaust 35.12mm (.86+)

NOTE ON TURBOS:
* info extracted from Rcolt forums originally donated by Singapore users
STOCK TF035 (My Old Setup - 210hp @ the hubs) Dyno Graph
Requirements: Stock Setup
Suitabillity: MT/CVT
Spool Start (Varies According to Transmission, Setup & Tuning): 1600-2200 RPM
Full Spool (Varies According to Transmission, Setup & Tuning): 2800-3200RPM
Out of Steam (According to Feedback): 3800-4000RPM
Max Boost: 1.2 BAR
Max BHP: 240-245

WRX TD04L (My Setup) Yet to Dyno
Requirements: DKC Turbo Header/Modified Stock Turbo Header + DKC Downpipe/Modified Stock Downpipe
Suitabillity: MT/CVT
Spool Start (Varies According to Transmission, Setup & Tuning): 2000-2800 RPM
Full Spool (Varies According to Transmission, Setup & Tuning): 3400-4400 RPM
Out of Steam (According to Feedback): 5000-5200 RPM**
Max Boost: 1.2 BAR**
Max BHP: 270-280
**Note i run this all the way to redline and boost around 1.4bar on track. We have pulled back some timing to be on the safe side as i run a stock motor

GARRETT GT2860RS (Jems Setup) Small Coverage before the forged build >>>>>
Requirements: DKC Turbo Header/HV Turbo Header + DKC Downpipe/HV Downpipe
Suitabillity: MT
Spool Start (Varies According to Transmission, Setup & Tuning): 3000-3400 RPM
Full Spool (Varies According to Transmission, Setup & Tuning): 4300-4700RPM
Out of Steam (According to Feedback): REDLINE***
Max Boost: 1.5 BAR
Max BHP: 310-370
***Note that Jem is pushing this to around 8k rpm on his built head.

Rcolt Z27AG Forged Build - EFR6258 - Judas Pet Project


Intro
In the next series of posts i hope to touch on some of the beastly builds going around. I gathered some info from the forums as well as Facebook. I hope these builds uncover possible configurations of the Colt. People spent a lot of time and money to make these various configurations work. Researching parts, RnD, fabrication etc.

More background information on build here, work in progress on updates


--------------------------------

Judas
Roller Dyno @ 180fwkw
 - EFR6258 @19psi (plenty more to go)
 - Forged bottom end
 - Jem's fabricator custom manifold to suit
 - stock head and cams

"Basically boost pressure is opposing the valve spring, the valve doesn't close correctly, this results in inconsistent power output, sensitive to tune, and worst of all you don't make the power that it is capable of. thats putting it simply."


- A fellow Rcolt Modifier "Georg" Pointed out that it could be spark blow out.
"the spark is not strong enough you lost power @ higher rpm´s, the mixture clears the spark"
"have not tried it, but my tuner has noted it that it can be possible by horsepower over 300....the valve springs can make trouble, too @ higher rpm"
If maybe causing the inconsistent power runs


One difference is this manifold has gone for long runners, whereas Jems has gone short runners.

It is a similar design to my manifold custom made by Matt.


Love the lobster claw dump pipe.


HPC coated extractors


Monday, May 6, 2013

Small Jobs - Civic Overheating Issues & Kia Rio A5D Service

------------------ HONDA ------------------
The Civic 97 was over heating. I checked the car maybe a month and a half before this issue started. It hadn't been serviced in over 1.5yrs.
I did the basic airfilter, oil filter, oil, sparkplugs, checked coolant and cleaned the dizzy.
It didn't look too bad.
After the car had over heated, I couldn't work out if the engine had seized. From what I understood the driver said the car halted. She then let it cooled down and drove home.
In theory if it overheated and lost all the water the engine would have seized and it would have been thrown in the bin.


I did a cooling system pressure test and found a leaky hose. I also replaced the thermostat and the thermostat gasket. The civic uses a rubber gasket. Some cars use paper or liquid gaskets in the thermostat housing.


Gasket P# Dayco DTG35

Tridon replacement thermo

Code: TT328-170
Description:
TRIDON THERMOSTAT 77C - 52MM (DIA), BYPASS

Bypass style thermostat with jiggle pin. Opening Temp: 77c


/techt/thermostat.htm


 - Install thermostat so that the jiggle pin valve is positioned toward the high side of the housing

 - Jiggle valve? this valve prevents air lock from occurring in the cooling system by allowing trapped air to escape while also reducing coolant leakage through the flange

Install notes from http://www.gates.com/

For Offset Thermostats with Jiggle Pin Valves
Caution: Failure to comply with these instructions may result in serious injury.


1. Allow cooling system to cool before servicing.
2. Prevent accidental starting of the engine by removing the ignition key.
3. Drain and flush cooling system.
4. Remove the outlet housing and take out old thermostat and gasket.
5. Clean gasket mounting surfaces.
6. Install thermostat so that the jiggle pin valve is positioned toward the high side of the housing with the copper pellet toward the engine (see installation sketch).
7. Install new gasket or rubber seal.
8. Replace outlet housing. Tighten bolts evenly.
9. Refill cooling system and run engine with radiator cap removed to normal operating temperature while checking for leaks.
10. After engine has reached normal operating temperature, shut off engine and allow engine to cool and recheck coolant level. Add coolant if needed. Test radiator pressure cap and replace if needed. Install radiator pressure cap.

------------------ KIA ------------------


When the Kia was brought to me it had no oil. Well maybe a cup still in it :( It had been burnt and charred. Quickest tell was to look under the oil refill cap and PCV/Bypass lines. As they are clogged and extremely dirty.

Not much can be done but hope for the best. I used an oil additive which flushes the engine. I believe it is pretty much a de-greaser which turns the oil to water.
I haven't done any reading, but just my feeling.
Some people recommend 500ml of diesel into the oil and run for half our. Because of the detergent properties in the diesel. Also kerosene is another example i have come across. I used kerosene to clean the gearbox out.

Some people recommend against these engine flush additives on badly maintained engines. The sludge build up could be preventing leaks e.g. rear main, rocker covers, sump etc.

So many things could be said regarding sludged engines. Could do multiple short term oil changes.
Dont put engine flush in the old oil. Just dump it and put in new oil, run the flush then change to new oil. It all depend on how much you wanna spend and time.

Video: http://www.youtube.com/watch?v=KC-SxrsgEwo&feature=related

Monday, April 29, 2013

How to Change Your Gearbox Oil in a Rcolt Z27AG


I believe this is a good read for the people still getting there hands around a car. A good little maintenance tip. From changing brakes, engine oil, coolant flush, brake bleeds and gearbox oil. Will pretty much cover all the small things faced in owning a car.
Then when you get serious a timing belt change.

For more info on the gearbox and clutches and LSD try here
/removing-gearbox-installation-tips-for.html

--------------------------------------------
NOTE:
 DO not remove gearbox drain bolt until you can remove the filler bolt
 DO not work under a car that isn't supported
 DO not exceed GL-4. The synchro's are not designed to have a material that reduces friction beyond that spec, so any GL 4/5 will lead to premature hub/slider wear. From memory is the suphurs that damage the syncros.
--------------------------------------------
Tips from me:
 - I don't remove wheels or anything off the engine bay items, I get right under the car and use an 8mm hex bit on the end of a ring spanner. I couldn't get clearance for anything else.
 - let the fluid settle, run through the gears and try top it up again.
 - easier to fill the car while it is on 4 stands, hence a level car.
 - EVEN EASIER IF YOU DO the overfill kit listed below
 - Spray the bolt with WD40
 - if it doesn't come out cold, try doing it after a short drive
 - one gearbox I worked on wouldn't come out. With the gearbox out of the car, it took some brute strength. They all give way, some just take longer.
 - Make sure it is a good quality hex bit e.g. kinchrome. You don't want to round off the sump bolts.
 - Nothing wrong with over filling. I usually go 2lts. There is a breather port at the top of the gearbox if you are worried about foaming.
 - I NO LONGER USE Redline due to the fluid going waxy after a 1000km or so.
 - RoyalPurple, Amsoil or Neo Racing are my recommended option.
--------------------------------------------

Tutorial: How to change gearbox oil by lawocg

Distributed with his permission - Sure mate by all means feel free to use! your blog has been very helpful for me!

Since I had a bitch of a time changing my gearbox oil, figured I'd write up a short thread as there's bits and pieces of info here and there but nothing definitive on how to do it.

It seriously helps if you have a pair of helping hands, pain in the ass if its a solo job ( but manageable none the less).


A magnetic drain plug. Handy for those worried about metal or run a clutch type LSD


This is the oil i am using. I have also used royal purple.
/gearbox-drop-part-4-axles.html

DISCLAIMER: I hold no responsibility if you round the bolts, snap something, get oil in your eyes, lose an arm, have the car fall on you etc. Use common sense!

Stuff needed

1. 2L of Gearbox oil. Pick whatever you want as long as its 75W-90 GL4.
2. 8mm Allen Key (Quality one will be better as a crap one will round and bend)
3. 8mm Socket and extension
4. Jack and handle ( will need handle as a breaker bar )
5. Jackstand
6. WD40
7. Pump or a funnel and some tubing.
8. Socket set to undo wheel nuts
9. Eye protection

Before we start, theres bits and pieces of info out there about doing it different ways. The below steps are easy enough that anyone with common sense should be able to tackle it.


Step 1
- remove top intercooler piping, battery, airbox and snorkel (leave airbox-turbo intake pipe intact)
- unbolt 3 bolts holding battery tray in place
- squeeze the little clip holding the negative terminal and MAF cable to release them from the battery tray.

Okay, so now with all the above removed. You should have a nice emptyish view of the top of the gearbox, also should be able to wiggle the battery tray up and down to give you some room to move in the next few steps.

Step 2
- Undo wheel on front passenger side.
- Jack up the car and place jack stands under chassis frame rail.
- Leave Jack there as well holding some load for double protection.

Now its safe to work under the car. Get under and look for the 8mm fill bolt on the gear box, it will be right next to the drive shaft and sway bar. WD40 the bolt for good measure.
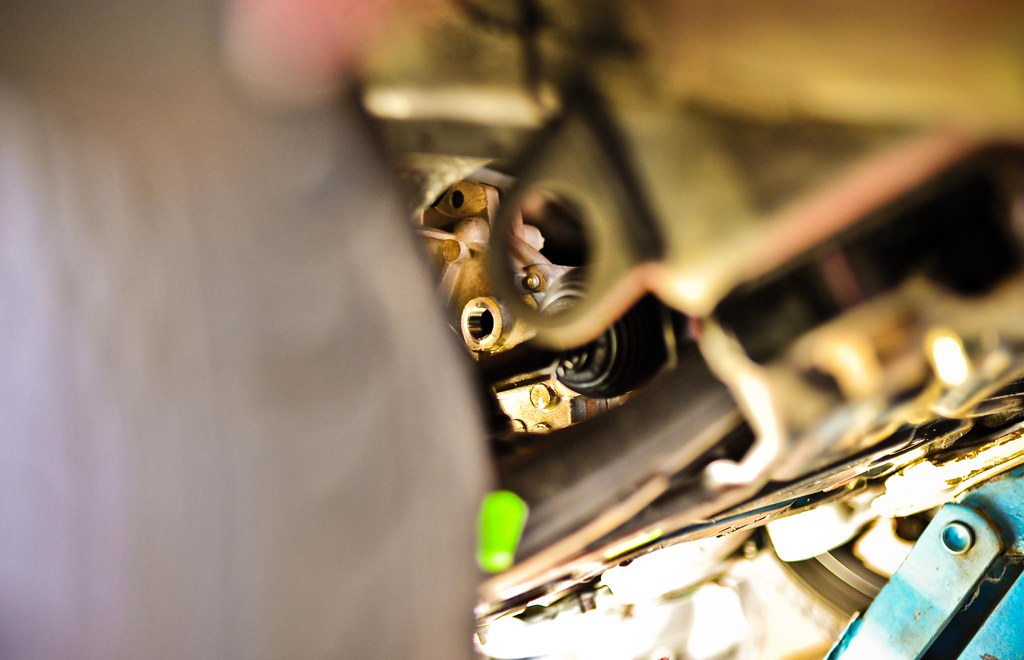


Step 3
- place one end of the 8mm allen key into the bolt with the long end point straight up.
- now look through the engine bay from the top and you should see the allen key pointing up straight at you

- slip the jack handle over the end of the key and slowly pull towards you (Will take a good amount of force and it should come loose). This is the hardest step in the entire process, make sure the allen key is seated in the bolt fully and persist, it will come loose. helps if you have another set of hands holding the key in while the other person cranks it at the top. Note: wiggle the battery tray towards you so you dont crack it while trying to crack the bolt.
- undo the drain bolt from under the car. This one is a lot easier, same process but instead of using the jack handle for leverage. Just slip a 8mm socket and extension on the end of the allen key and break the bolt.

Step 4
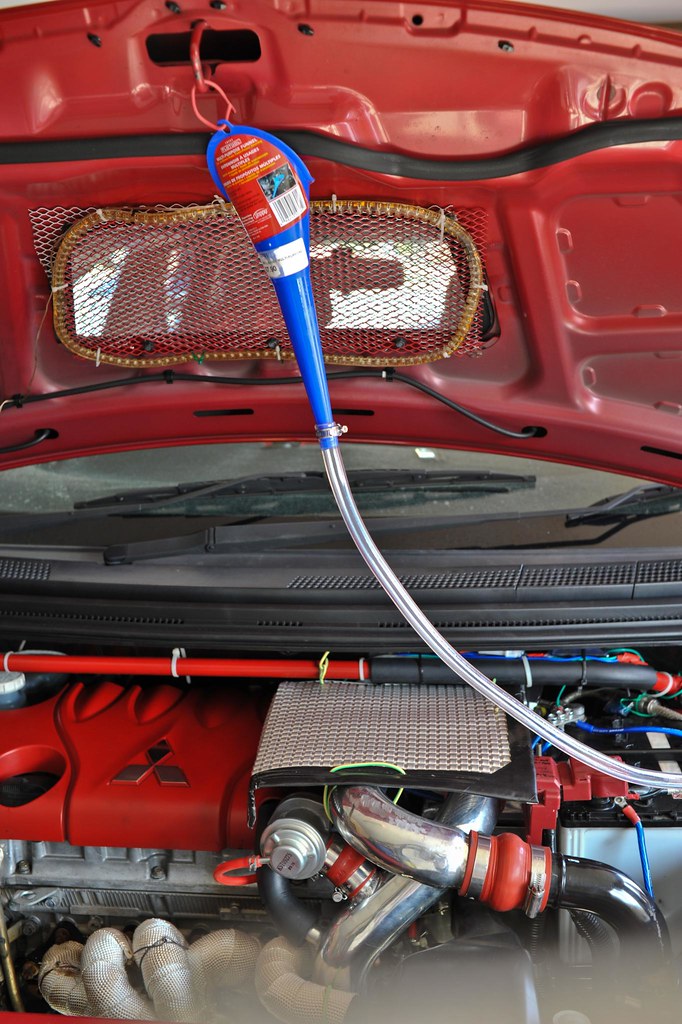
- Get a pan and drain out all the old oil, hopefully its not black and smells of ass. Once drained redo the drain bolt.
- Either use a pump to get the new stuff in or use a funnel and tubing to gravity feed it in. Pump is much more preferable. Best position to pump is from the front passenger wheel arch for the easiest access.

NOTE: You can either put the wheel back on to level out the car when refilling to get the factory 1.75L OR you can leave the car jacked up and pump a little more in. I chose the latter option and pumped 2L in.

- once full, do up the fill bolt and presto your done! Now just reinstall everything in the engine bay, clean up any spills and you are good to go.

Rather long guide, but its a slut of a job and I wished I had something like this when I was tackling it.

PS: if you plan on changing oil regularly, would make a lot of sense to replace those hex bolts with normal M18x1.5 bolts. Which I am contemplating on doing, credit to Ayu452 for the sizing of the bolt. /home-brew-overfill-kit.html
Sales people got confused, apparently in providing the items i used. General names include:
1)
M18x1/4 BSP (which is a generic sensor adapter)
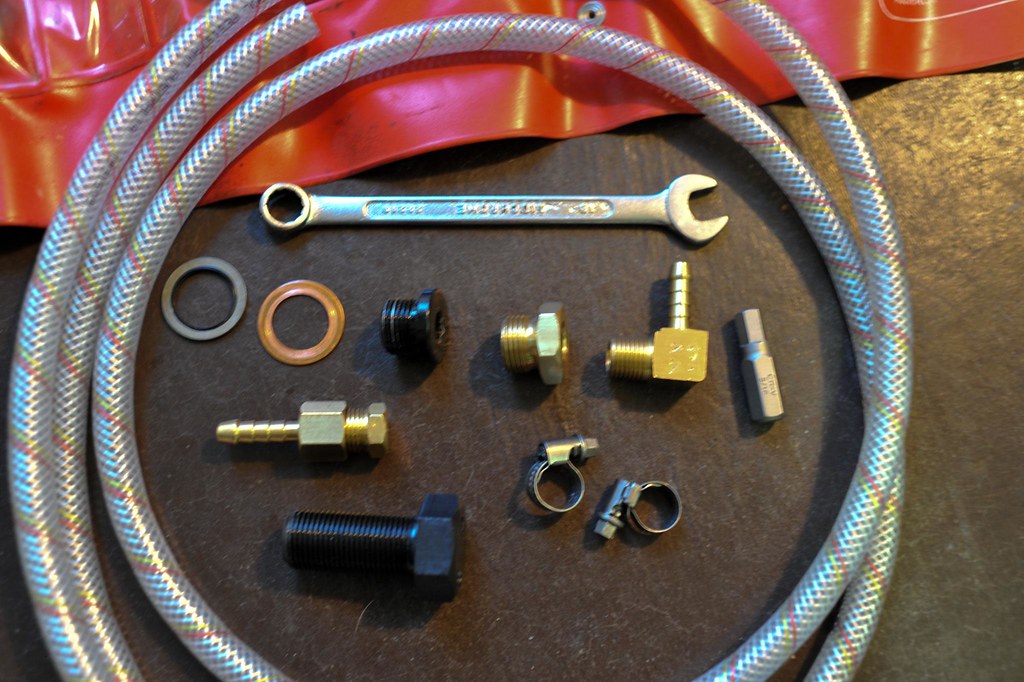
e.g. Brass adapter bush, suits threaded port in the turbo outlet pipe for Australian DTS, MTQ & Safari systems with threaded Metric M18 x 1.5.
2)
Barbed Brass Fitting - No P6 Male Elbow - 1/4 x 1/4 (Hose x BSPT)
Code: 06006-0404
 - used to create the right angle in the sensor adapter
3)
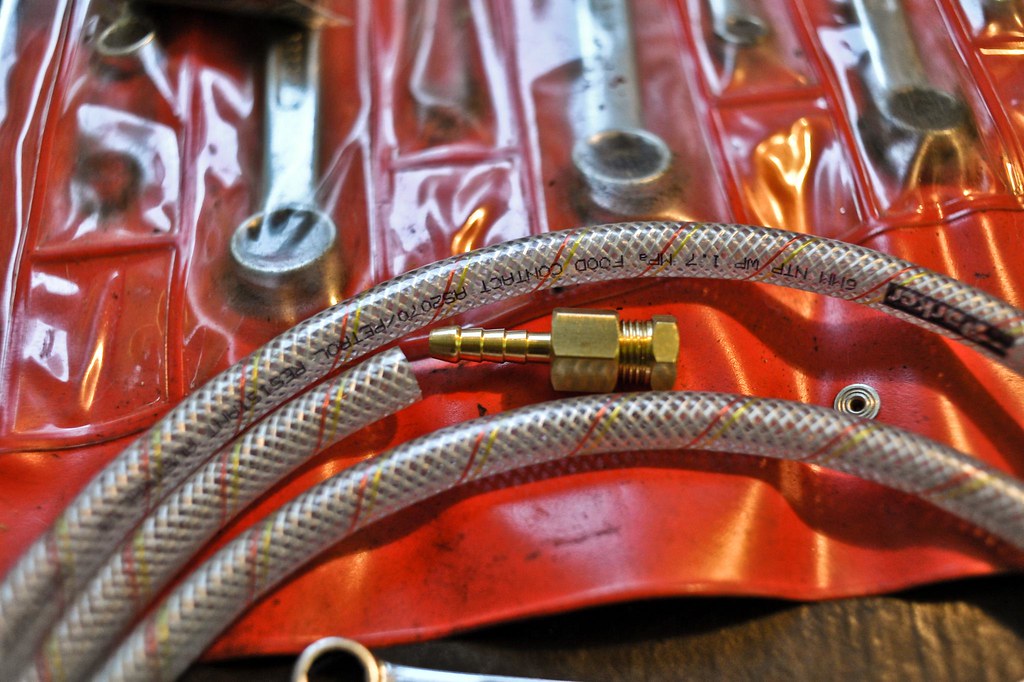
Barbed Brass Fitting - No P10 Female Tailpiece  - 1/4 x 1/4 (Hose x BSPT)
Code: 06010-0404
 - used to block the end of the open hose that runs into the engine bay
4)
1/4 BSP Taper plug
 - used to close the end of (3)


I use 6mm hose with hose clamps. The hose has an outer cover, with some electrical conduit. I didn't have any issues with heat, it was more so protection from rubbing or getting pinched.


**Part numbers from TubeFit. They were found on my Enzed receipt.

-------------------------- Handy Engine Oil Change Tap --------------------------
It can also be used on the gearbox. But I use a magnetic plug. Also i feel it will stop the gearbox from emptying fully.


Also note: This little item is super handy for those doing there oil changes. A simple little tap.
No mess :)
/fumoto-f106n-14mm-15.html

No Limits - 25/04/2013 - ANZAC Session - Personal Best Set!

Exciting times. My car was once 33 out of 99.  I shall move to around about 15th place, why?
I finally changed tires as you saw in this post:
/track-prep-z27ag-goes-to-war_29.html


Previous ranking:
/leader-board-no-limits-33-out-of-99.html


Last session i was out:
/no-limits-10012013.html

Long - 10 laps - 1:11.209 (fastest lap was 5 of 10)
Short - 6 laps - 59.246  (fastest lap was 1 of 6) - RaceChrono time was 59.26s


This session out, I was brutal. Too bad i left early :( 
Too sick to stay, turbo to FMIC kept popping off. But I did manage.......drum roll
Actual times:
Long Track - 5 Laps -  Fastest was Lap 2 - 1:09.9469 - Split - 0:07.2743
Short Track - 10 Laps - Fastest was Lap 7 - 0:58.1755 - Split - 0:04.3635

Last Setup 
- Front 42psi, rears 40psi + alignment change 3.4deg @ the front
- Brake and clutch RBF600 flush + oil change
- Lightweight RRP flywheel and new carbon LSD
- alignment change 3.4deg @ the front
This Setup
- New rcomps on 8.5" and 7.5" wheels, plus hub spacers & weight reduction
- Front & Rear Left Side 32psi
- Front & Rear Right Side 30psi
- No idea on alignment as a raisied the front 10mm
- Small brake bleed RBF600 flush + oil change (Penrite Racing 0W-50)


RaceChrono Times: 
Long Track 
- 1:09.96 - Optimal Time - 1:09.38
Short Track 
- 58.16 - Optimal Time - 58.16

Optimal and actual times are equal. That only means I can get quicker :) 57s!


This was last time vs this time. I was running the Toyo R1Rs and a bit extra weight.

My mates VMAX vs Mine.
He runs a 55s on the short in his stroked Evo V.
Setup:
Yoko A050 mediums also DMS front and Proflex rear suspension
Evo V is a stroker 2.3 Manley kit with IX turbo & cams - everything else is targa spec

My mate was saying you can't compare VMAX? Because the car can reach 200km but you dont know at why point he reached.


New track shoes :)
See previous post for fitment issues :(
/track-prep-z27ag-goes-to-war_29.html


Track Prep - Z27AG Goes to War

It has been awhile since my last update. I have been busy preparing for the all day race.
I convinced myself it was time for some new tires. I need to get serious.
Hence i went with some Z221 Hankooks. Its cheaper than the Yokohama A050s.
Lucky for me I found one shop in Perth selling them.
Kostera http://www.kostera.com.au/
They also do the famous Dunlop RComps.
My friend said they Hankooks in his mind won the WTAC. As all three top finishes ran them. They are now banned and only Yokohamas can run in the competition. I wonder why :)

First things first. The compressor needed new oil.
I hadn't changed the oil in a year :( Lazy me.
In went some fresh compressor oil.


When i bought my rims i measured up a rough fitment. I begun to realise that nothing would clear due to my camber setup.
So i went and ordered proper bolt on spacers. That are hubcentric and not lugcentric.
They match the hubsize so there is no stress on the studs. They are from a Volvo S40 4stud.
I also went and purchased hub centric rings 67mm to 73mm. This allows the rims to sit nice and snug without any movement of stress on the lugs.


Trak+ Hubcentric spacers CB=67.1
/ls400ucf20-or-ls430ucf30-front-brake.html

The rears proved a pain in the ass.
They use a 10mm spacer, the snag was it required installation of new studs. These were strengthen extended studs and they would not go in!
I use a torch to heat the hubs but no luck.
I stuck them in the freezer for a day and it proved to help.
I used WD40 and copper anti seize to help drive them in.
They ruined my cro-mo impact installation tool.


Another little present came all the way from NZ.
This is an Evo III to brembo conversion bracket.
It will allow someone to bolt their brembos off a new evo to the older ones.
The rotors you will need to run are 320mm which are factory evo5-9 front rotors, but 330mm will also work with these plates
At the moment i run a 276mm disc and soon to be a 294mm
A cheaper and lighter option for now.
More on the two rotors:
/project-mu-or-carbotech-276mm-or-294mm.html
My twin pot Evo III:
/ct530-xp10-carbotech-to-evo-iii-twin.html
How to fit bigger rotors:
/z27ag-rcolt-mr307282-with-294mm-discs.html


It just got more serious. I just bought an AC TIG.
For those that don't know. AC is required to weld aluminium. It does cost a bit more than your usual DC TIG (stainless etc) and even more than your MIG.
More info to come as i teach myself how to use it.


The winning tires. Too bad they ordered me the wrong sizes.
I wanted the 205/45/17 on the fronts and a 215/45/17 on the rears.
I ended up with a 215 and a 225 :(
They don't fit at all. I can't even full lock.
Stretch wise they aren't bad but the rolling diam is too big. I should be running a 40 profile. But they don't make these.


I also went a bit crazy and started ripping stuff out of the car.


Zero clearance. Hence a lot of the guards got cut and bashed.
Lucky i had already flared the guards to fit the 15x8+0 otherwise it would be impossible.
Flared guards:
/wide-body-fenders-rcolt-version-i.html


I used the angle grinder. Extremely messy.
I have now bought a Shinano air saw. Sooo good.
I no longer burn my face with molten plastic
More photos below of the cutting.


Bye bye interior.
I believe i have removed about 50kg from the interior.
Between all plastics, un-used seat belts, passenger chair and carpets.
I have also remove the fog lights, heat shields, drivers Recaro to a lighter race seat. Only 5kg saving from memory :(
Can't afford a super light seat.
I also changed to a smaller battery a few years ago. 9kg saving from memory.
Maybe I am about 100kg lighter than a OEM car. Carbon hood etc. Rear seat were the heaviest item
But the manifold and turbo would weigh abit more, plus all my swaybars and anti roll bars.


Before and after :)


Too bad i can't get 40 profiles. Would have been perfect :(


Not the best fittings for a 17" wheel @_@