Before i move on and talk about cracking the box open, I thought i put up some details on clutches I got from Rcolt.com forums.
Clutch Info:
From Mitsubishi
- Friction pl8: 2301A085 (trade $249+gst)
- Pressure Pl8: MN196047 (trade $307+gst)
- Thrust bearing: 2960A042 (trade $172+gst)
All up: $800.80 incl gst (retail is $920)
Extreme (Adelaide Clutch Services) 6 button sprung ceramic clutch kit
- Pressure and Friction pl8 kit: KMI220015DSBHD $504.50 incl gst
- Release Module: ATFM103 $282.28 incl gst
Htec Elite - Sachs OEM Replacement Unit - http://www.htecelite.com/
- Sachs Pressure Plate - 3082 000 590
- Another part number found on the box - 3000 951 043
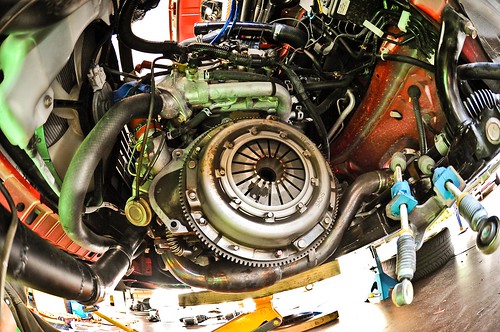
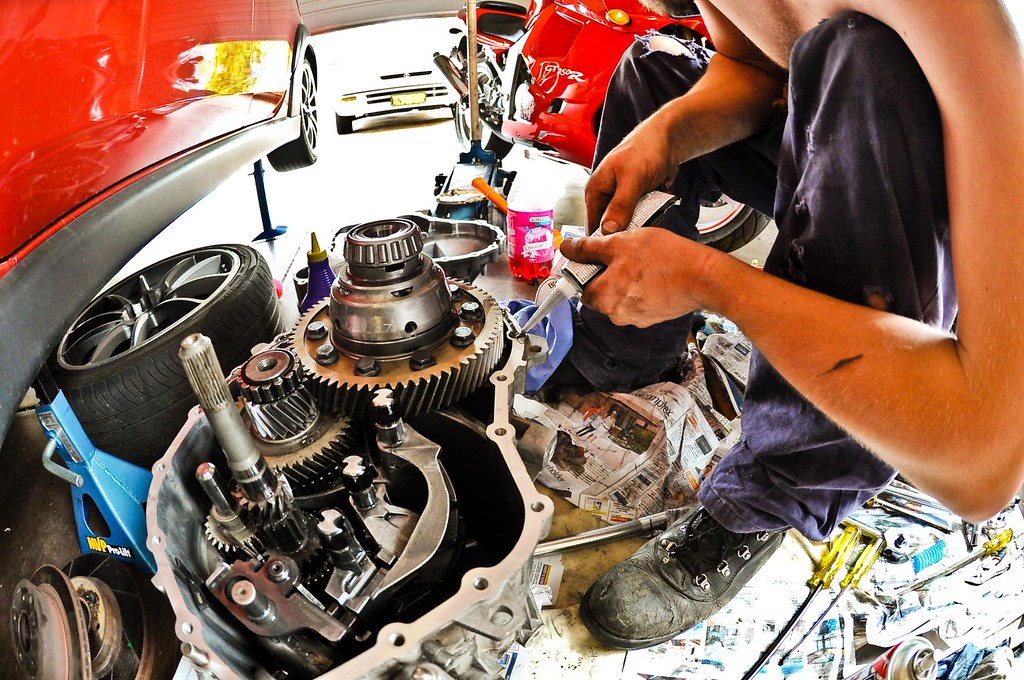
Now down to business...
Various torque setting:
- Top engine mount bolt and nuts = 43+/-4Nm
- Starter motor = 24+/-3Nm
- Bottom engine mount three bolts = 58+/-6Nm
- bell housing bolts = 48+/-6Nm
- bell housing bottom cover (bolt that go into the gearbox) = 23+/-4Nm
- bell housing bottom cover (bolt that go into the engine block) = 48+/-6Nm
- LSD ring gear bolts = 85+/-5Nm
- 18 gearbox torx bolts = = 27+/-1Nm
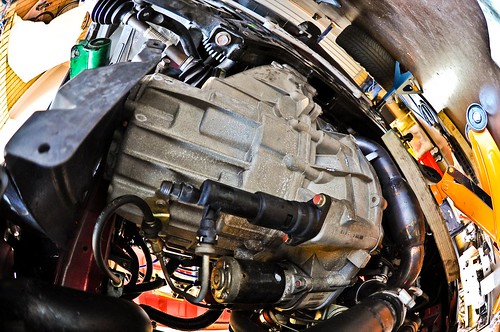
1) Gearbox should be successfully off the vehicle! Hardest bit is done! Now to crack the box open. It is surrounded by numerous torx bits that will require you to use the female torx bits we bought. I recommend doing it by hand, they aren't really tight.
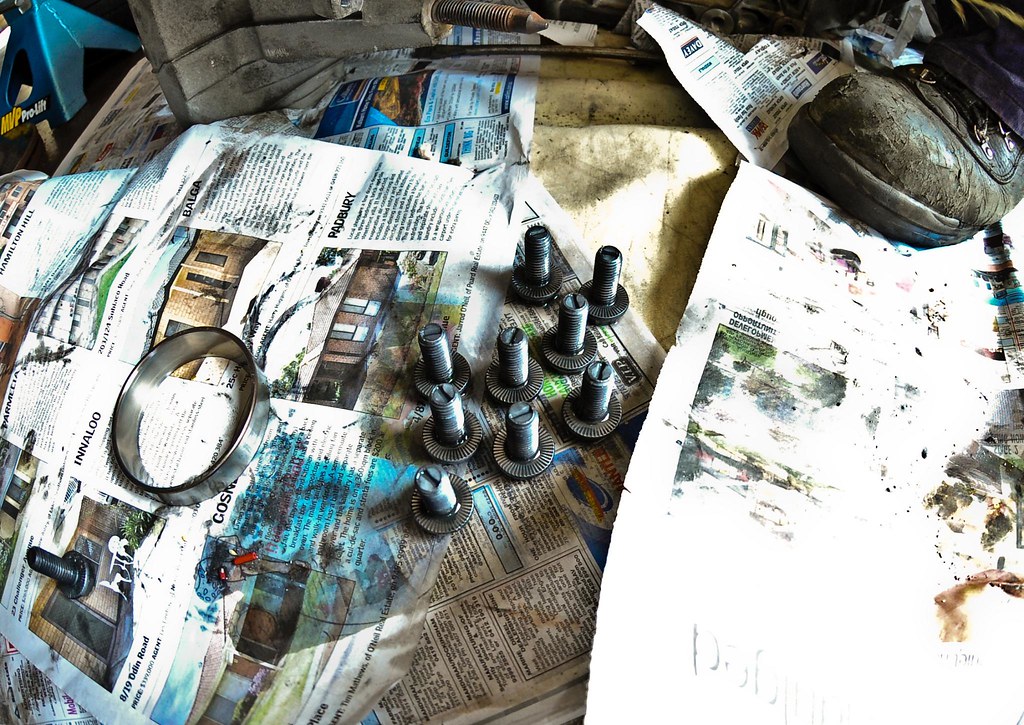
You don't want to run the risk of damaging the threads. There are some more torx bits located inside the bell housing cover. I labeled all the bolts to try and put them back in the holes they came out of. A little anal of me. I think 18 of them, 6 inside.
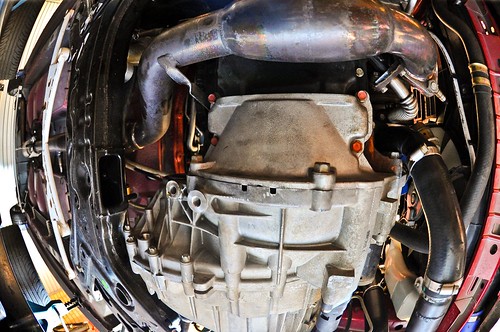
 Once all bolts are removed there are various pry point on the box. Metal tabs where you can get a good grip with screwdrivers or pry bars...
DO NOT try to separate the box via the lip...You don't want to damage the lip causing the box not to seal properly.
Only use the pry points and rubber hammer.
It may take awhile to get the cover off due to the dowel being tight. You can see the lower dowel on the bottom of the photo to the left.
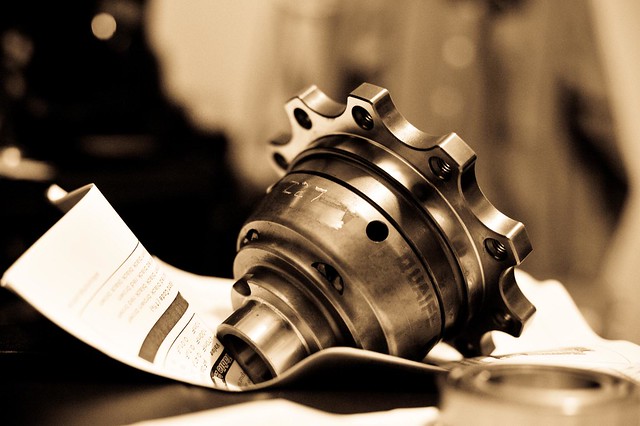
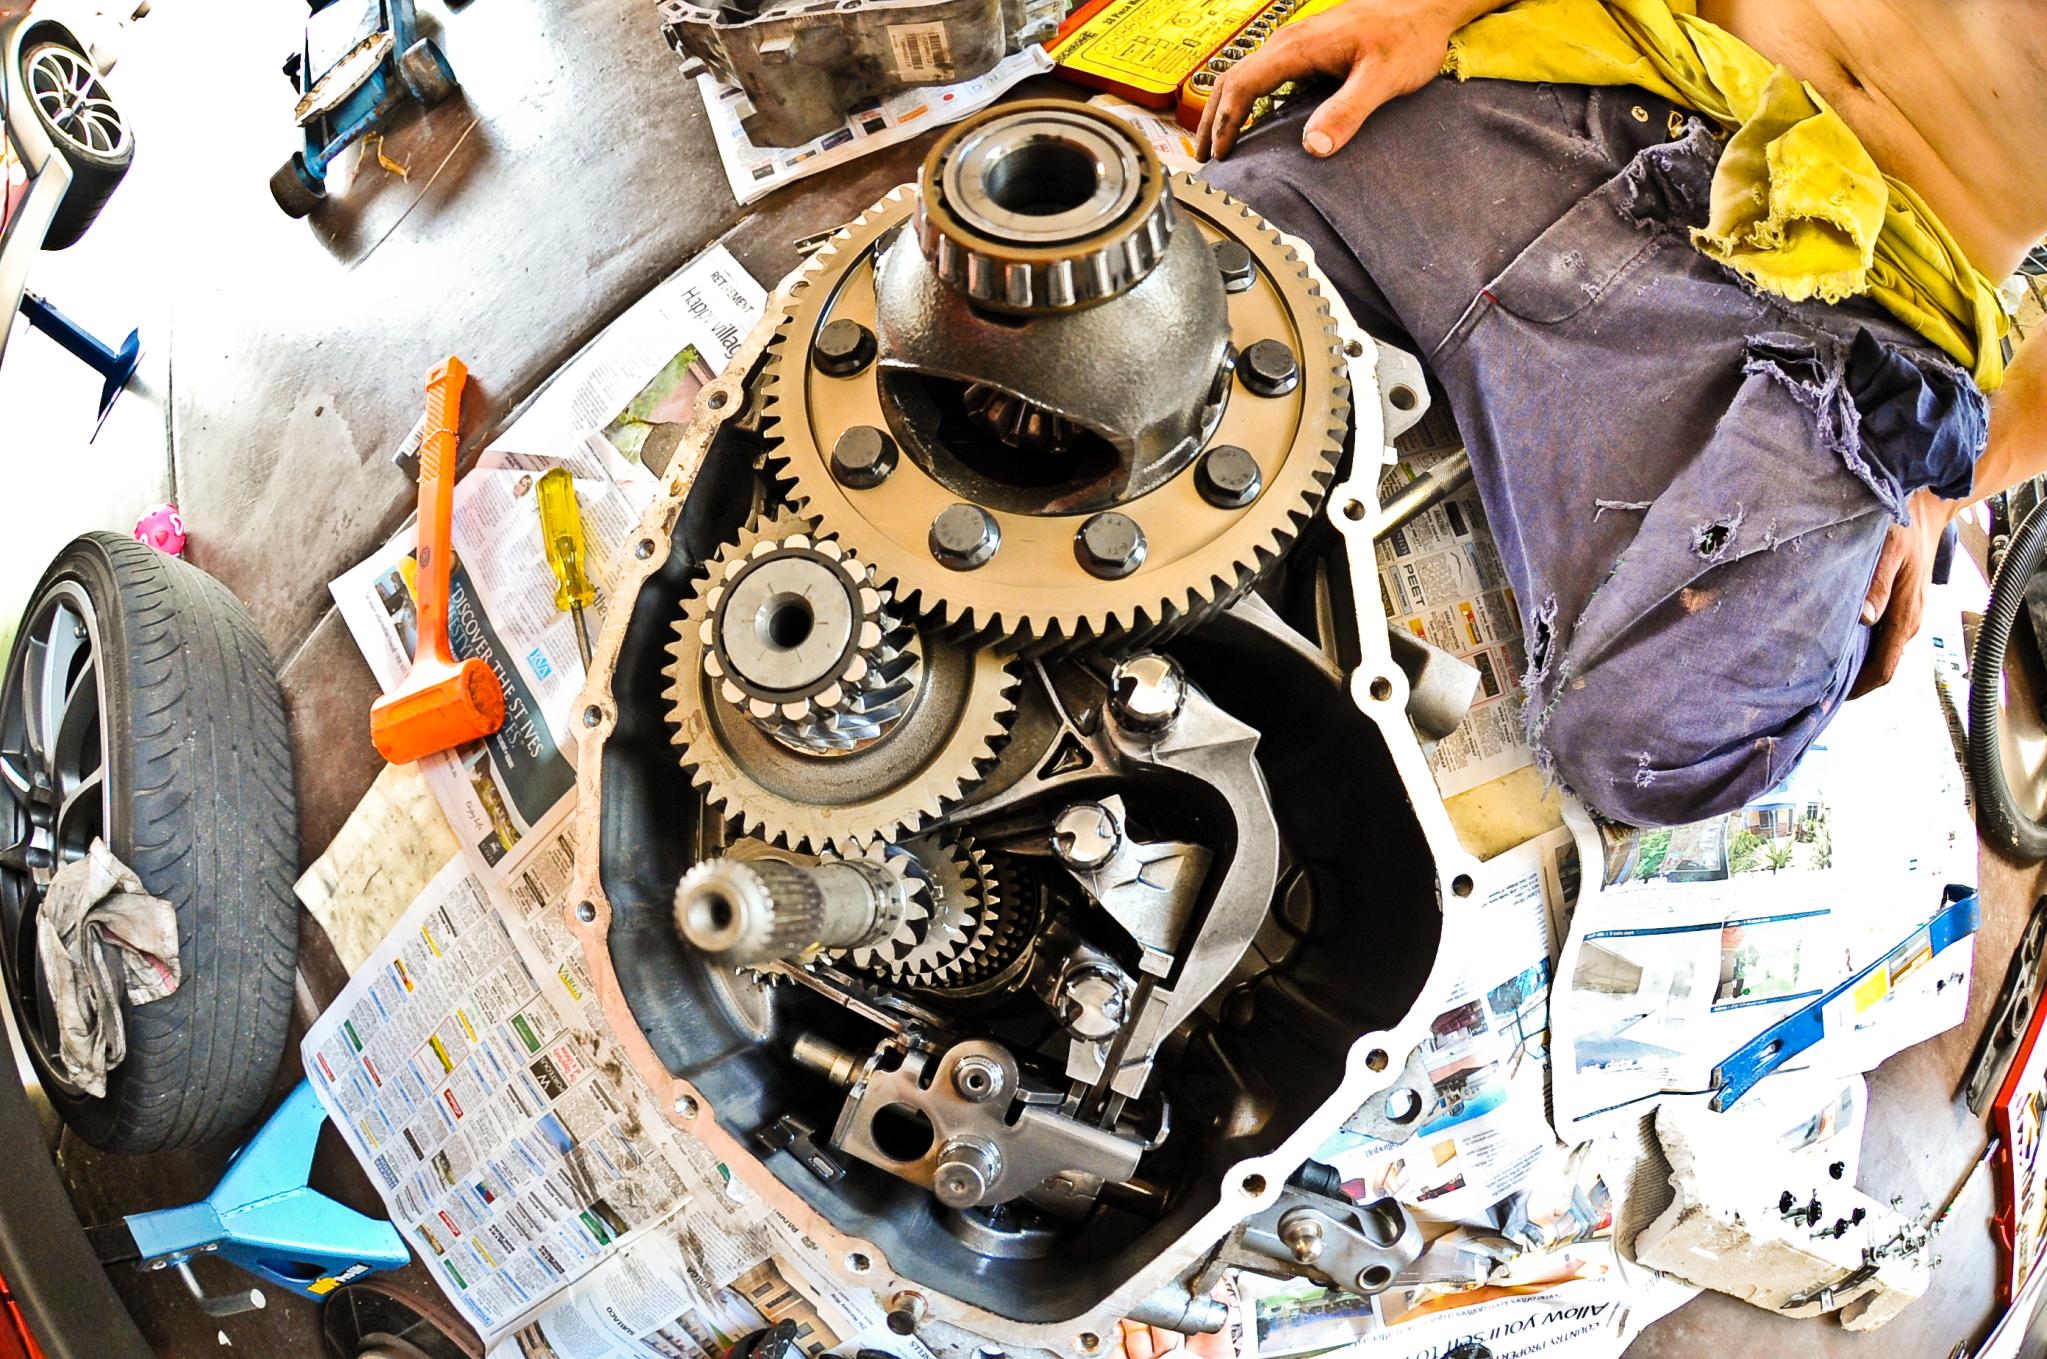
2) Case is now separated, you can see the stock diff just sitting there. Remove it and put it somewhere clean.
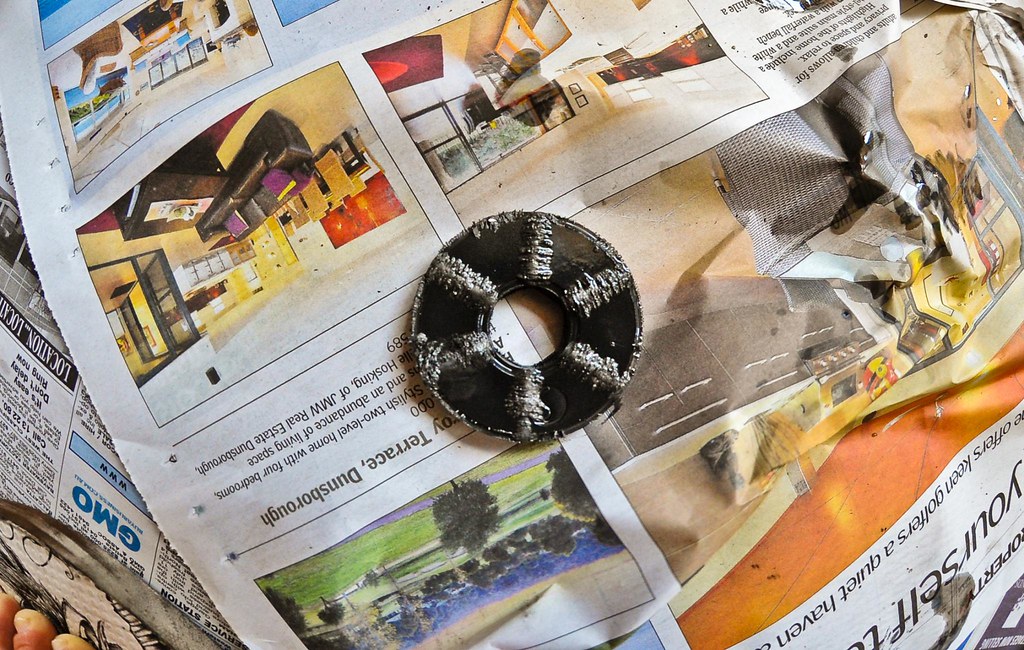
You can also remove the magnet and give it a clean. My friend inspected the ring gear and other gears to look for any serious wear. All checked out on my 70,000km box.
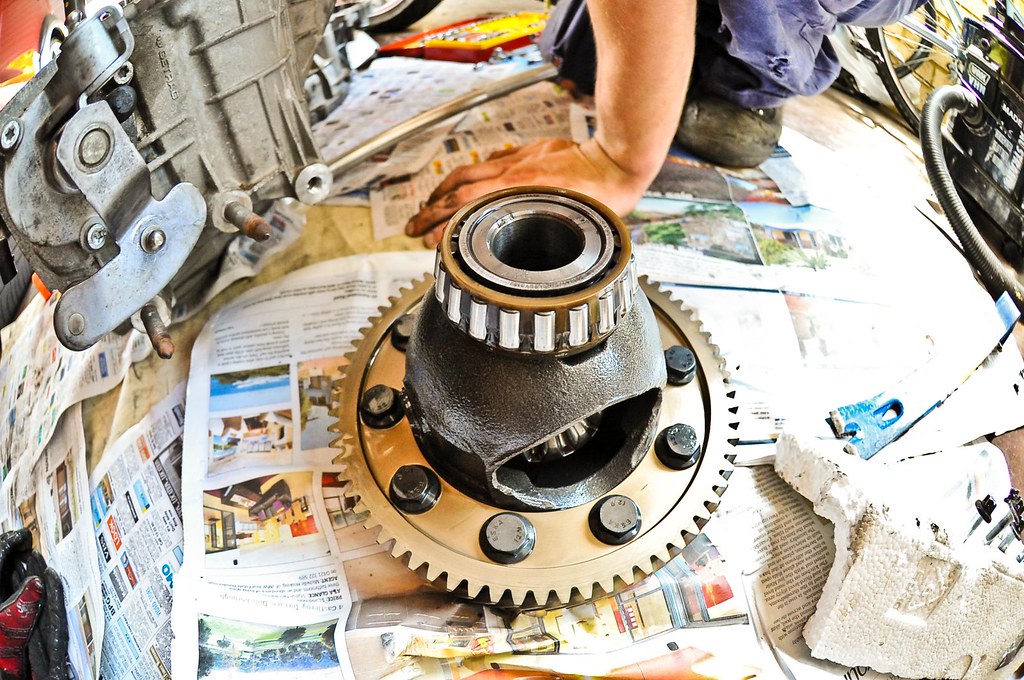
Next bits are fun :) I used a rattle gun to remove the bolts holding on the ring gear (18mm bolts). They have loctite on them.

Removing the ring gear was simple enough. Remove all the bolts then slowly hit the ring gear off with a rubber hammer.
To reinstall it, what i did was clean it REAL good with come carb cleaner. You don't want many metal on it.
 I then lined it up, it was a real tight fit so what I did was use the bolts to slowly pull it down. Slowly tightening the bolts in a star pattern. Once the ring was down i removed the bolts. Cleaned the bolts and got rid of all the old loctite. Put new loctite and installed them back. I tightened them with the rattle gun. First toque setting. I assume about 50nm. We then put it in a vice and i held it while my mate torqued them ~90Nm.
It was extremely hard to hold and sharp. Do where gloves, the ring gear is deadly!
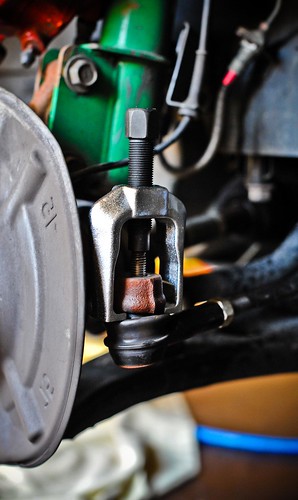
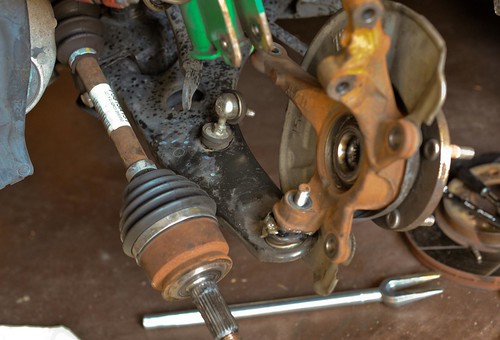
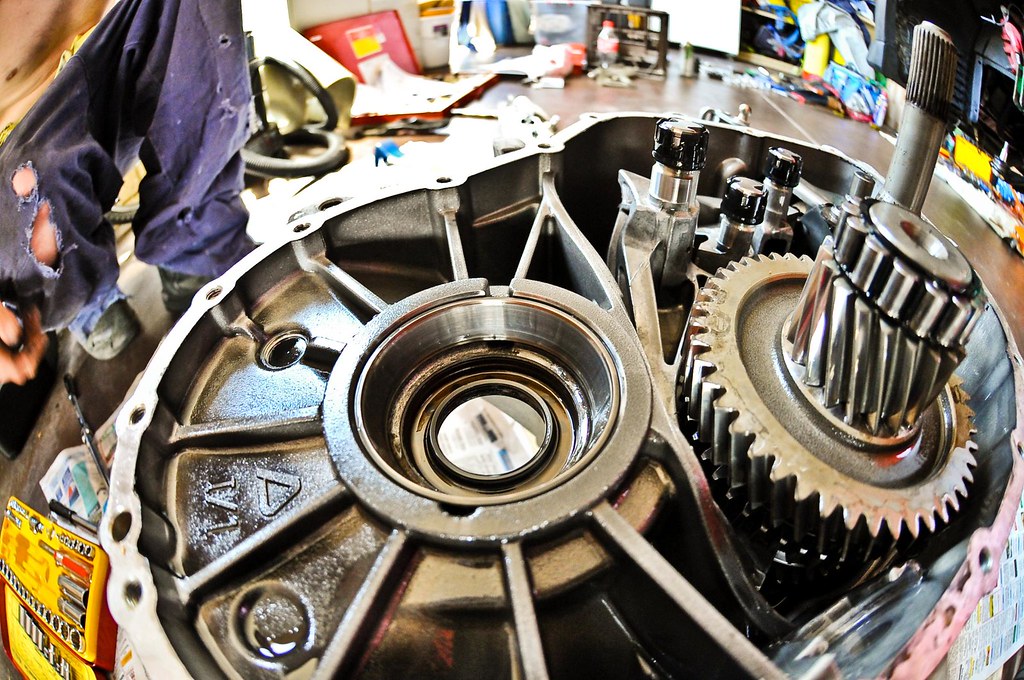
3) Replacing the outer race that is pressed into the case. Extremely painful process. I suggest you have an arsenal of flat head screw drivers, pry bars, flat hooks, 2 arm pullers etc.
Do it from both sides of the case, try to nudge it out little each side. Be careful not to damage the axle seal otherwise you will have to replace this (as I did). Will be posting that how to as well.
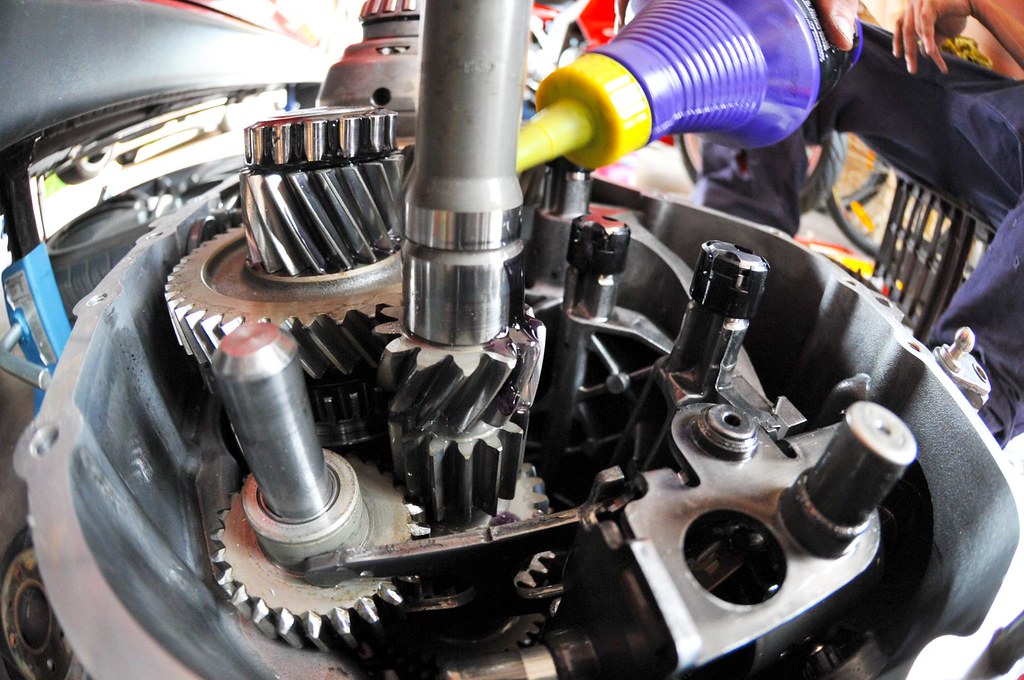
Presser the near bearing outer race by using the old one to tap it in. Put some new gear box oil over the LSD and gear compents.
 4) Clean the edge of the gearbox up very well. Use some new gasket sealer to seal the box. Do it on the inside of the bolts and dowel. Put the case on slowly. Tap it down over the dowel. Do not wipe the gasket sealer off. Let it ooze out. Lightly tighten the bolts till you see some sealer ooze out. Let it sit before you torque the bolts to 27 Nm.
Before you stick it on the car put a bit of grease on the thrust bearing and inspect.
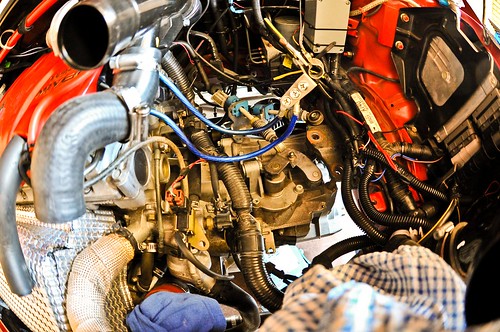
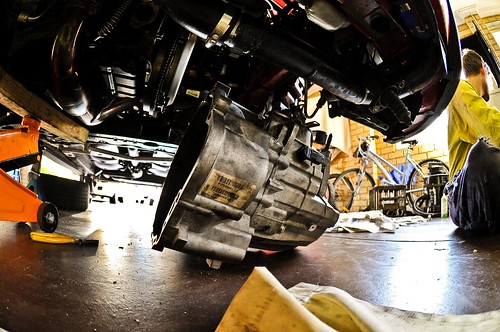
 5) Now to get the gearbox back into the car. Little bit of mucking around but a engine crane or a second pair of hands would really help. I slid it under the car on the jack and a mate held it from the top
Once its sitting on the input shaft spline its not to bad...Then you gotta try get the top engine mount bolts to light up.
Installation is pretty much the opposite of reversal besides filling the gearbox.
I ran the old gearbox oil through it for a couple minutes while it was on stands.
Note you ABS lights may have a sad and come on. I just done about 20km/hr for about 5 minutes on the stands.
Then dropped the oil and re-filled it with the good stuff.
You will have to drive down the road to remove the ABS lights (that what i did).