Friday, April 22, 2011

Oil Catch Can

As you can see its not really a catch can @_@ I thought i try something different so I install an ebay oil/water air separator used in a compressor.
I don't know if it will work I am waiting to collect some oil ^_^
I used brass fitting to connect some hoses to PCV outlet 13mm to the intake inlet 19mm.
I accidently bought some super expensive hoses @_@ $20 each...I got up-saled!


You dont need such an expensive hose...
The separator was $14 on ebay and the brass fitting set me about around $20.
I believe i can do it cheaper...with a different fittin


Posted by Picasa

Rear Rotor Upgrade P2

Caliper and mount off.
Use CRC between rotor and hub to weaken the seized joint.
Then hit around the outer edge of the rotor with a rubber mallet while spinning it. Dont hit to hard dont wan't to damage the hub mount.


48mm Stud length. I plan to upgrade to hardened studs eventually due to taking the wheels on and off alot. 28mm thread length. Standard Mitsu pitch i believe is 1.5mm
Clean rotor of all grease and used a special tool to retract rear piston.


Make sure hub is cleaned before installing rotor...You dont want it to not sit flat!
Takes about 100/200km to wear the rotor in.
I re-used the pads..But before installing i sheared off a layer using a brick and wire brush
After the track day...Wore in the rotors nicely


Volvo S40 T4 1.9 200hp model. It also shares the same brake system as our colts

For the front your options are: Disk EBC Turbogroove GD925 (281x25) Pads: are starting with standard pads over green, red, yellow and blue

For the rear your options are: Disk EBC Turbogroove GD854 (250x10) Pads are starting with standard pads over green, red, yellow and blue

I personally would stick to yellow or red. In my opinion they are the most suited with the grooved disks. Forget about black, green (like stock less brakedust) and blue (Racingpad needs long heatup).

Currently using the Carbotech CT838

The part No are:
Turbogroove Front: GD925
Turbogroove Rear: GD854
Redstuffpads Front: DP31139C
Yellowpads Front: DP41139R
Redstuffpads Rear: DP31076C
Yellowstufpads Rear: DP41076R

Dixcel quote the Colt Ralliart rear disc at 250 x 10mm, 114.3 stud pattern, 69mm centre bore, front discs are 281 x 26mm.
info from:
http://www.rcolt.com/showthread.php?5827-EBC-rear-slotted-rotors&p=98453#post98453

Rear Rotor Upgrade P1

Decided to stick some slotted rear rotors before my track day.
I have front slotted one done about 30,000km ago.
You need to remove the floating caliper then the mounting bracket which requires a male 6 star torx a T50.
Removing the floating caliper requires a spanner and socket.  You need to hold the middle nut from spinning.


New rear rotor before i clean them.


I think the correct model number of the rotor.

Stripped M8 or M10 security bit. This is what happens when you use the wrong tool for the job. I thought i could take out the hub/brake bracket with this.


Wednesday, April 6, 2011

Oil Temp Sensor or Pressure Install for a Z27AG 4G15 - Similar to a 4G63/64 Block

For those looking at mounting any oil temp sensor and pressure sensor do note the Z27A has you covered.
There are two point on the engine block that these can be mounted :)


blank plug in the oil filter flange = 3/8" BSPT male threads
Common sensor Threads = 1/8" NPT female threads e.g oil pressure sender

Gauge Brand       Oil Pressure Sender Thread Pitch
VDO                        1/8" NPT or M10x1
Stewart Warner 1/8" NPT
Autometer               1/8" NPT
Defi oil pressure senders are 1/8" BSPT


Originally i used some teflon tape, but it is not best practice  I now use liquid thread tape sealer.
http://ayu452.blogspot.com.au/2012/12/a-bit-on-gasket-goo.html

This can be used on filler bolts, or sensors where you don't want teflon tape breaking off and contaminating.


Using a tap to convert the internal 1/8 BSP thread to a 1/8 NPT thread.


done a standard oil change...going to dyno soon wanna get car ready...
notice a while ago the gasket on the oil return line to the sump was leaking...
made a new gasket out of cork, hope it holds

added an oil temp sensor i got from a friend...will wire it up another day, but it is mounted...used teflon tape to seal

A sensor adapter 1/8-3/8can be purchased but this kit came with one :)
Another option:
or u can go get an normal temp gauge @ your local electronics...for ~40$, drill a hole in the sump plug and use high temp silicon to seal it...as i seen in this civic on the track day...he said there is no pressure in the sump so its all good.

You can purchase items here: http://store.42draftdesigns.com/ or you generic sensor shop
AMS also do a special relocation kit /AMS-Remote-Oil-Pressure-Sending-Unit-Line.html
conntection point


Can also get a sump plug sensor adapter
Bolt size is M14 x P1.5 (i am highly confident this is the size)
I am sure a brass fitting shop will have a bolt with an internal tapped thread for a sensor ;) similar story happened when i did my gearbox filler mod


AMS Kit Details  /AMS-Remote-Oil-Pressure-Sending-Unit-Line.html


The AMS Remote Oil Pressure Sending Unit Line allows you to safely mount your aftermarket oil pressure sending unit away from vibration.  Traditionally tuners would mount their oil pressure sending units directly to the oil filter housing which provides a quick and easy mounting solution. The down fall is the excessive vibration especially at high RPM's can cause a failed or broken sensor. If the sender breaks, a rapid oil leak can quickly ruin bearings causing engine failure!


Our -3AN stainless steel braided line prolongs oil pressure sending unit life, looks great and is built to last.  This line is a MUST when installing an aftermarket oil pressure gauge.

Features
    Allows for longer sending unit life
    Eliminates the chance of engine damage from a sending unit breaking off
    Braided stainless steel for protection against abrasion and corrosion
Kit Includes
    Line with appropriate fittings at each end
Specifications
    12” long -3AN Stainless Steel line
    1/8 NPT female end fits most aftermarket oil pressure sending units
Applications
    All 4G63/4B11 equipped Mitsubishi’s
    Fits all USDM, JDM and European Models

RnD on Oil Cooler/ReLocation

Doing some research on making a oil relocation kit + oil cooler
The colt can use various oil filters e.g.
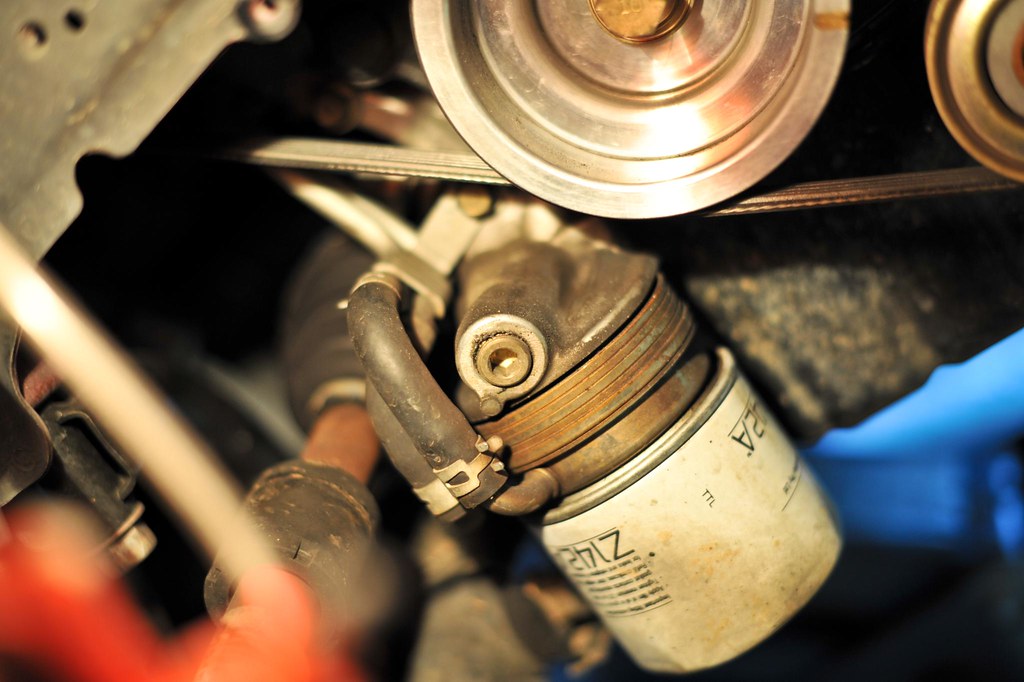
Ryco - z411, z142a, z436
all have a seal diameter of 66mm and the same thread so should fit.Mitsubishi genuine oil filter, part number: MD356000
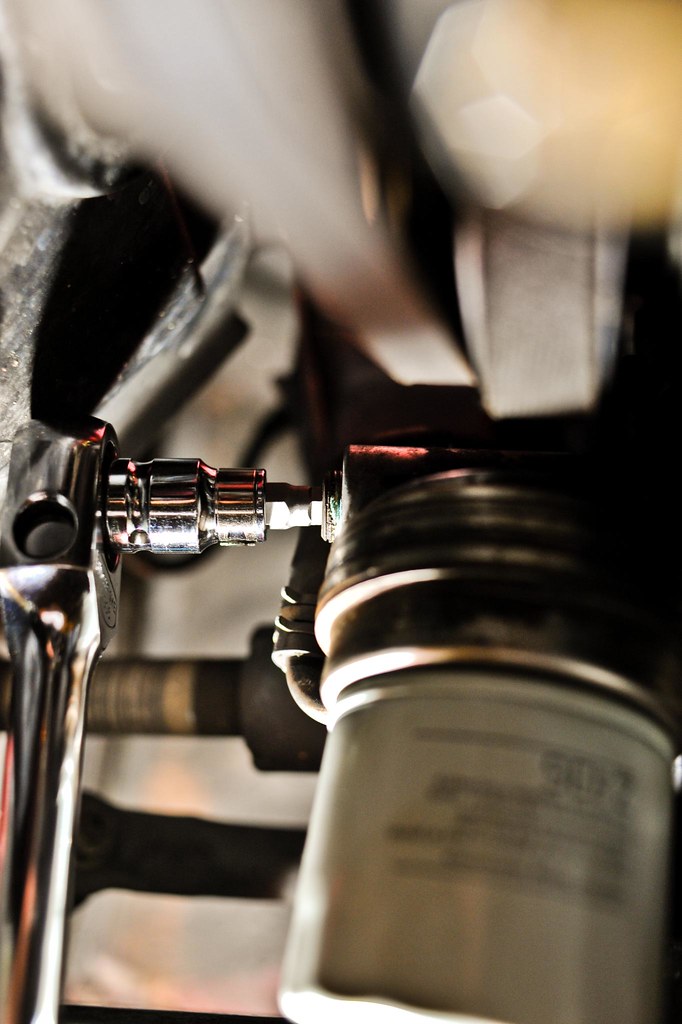
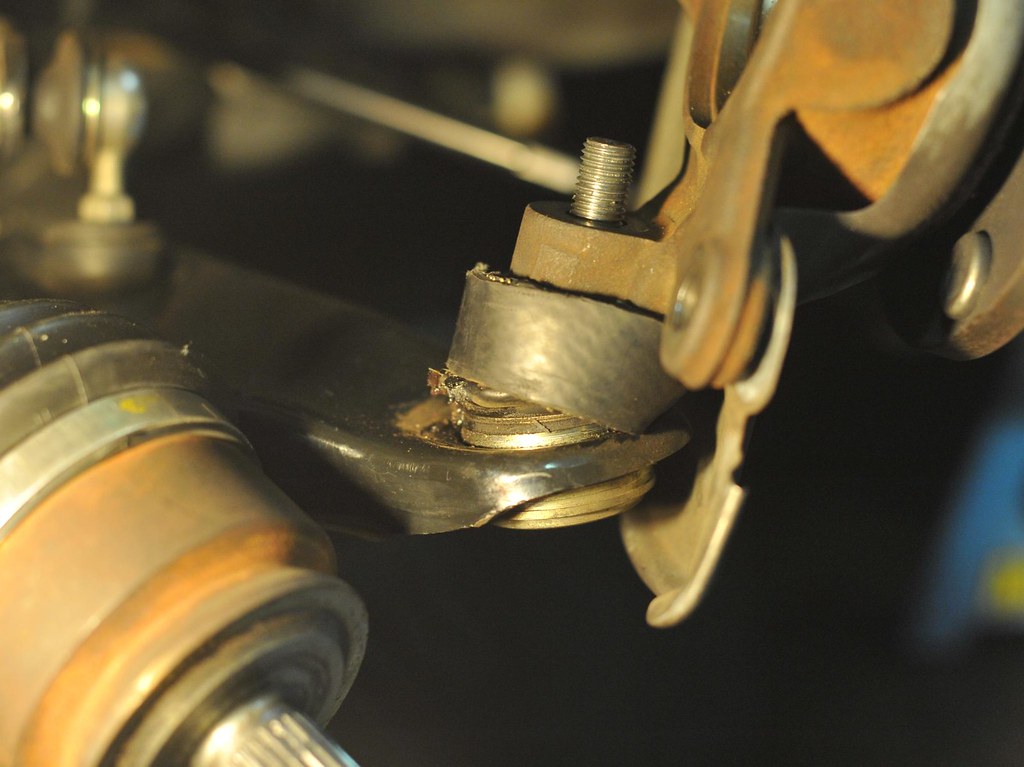
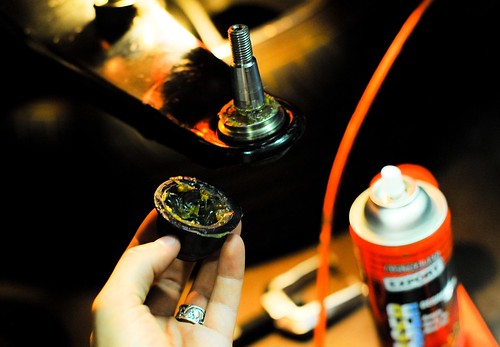
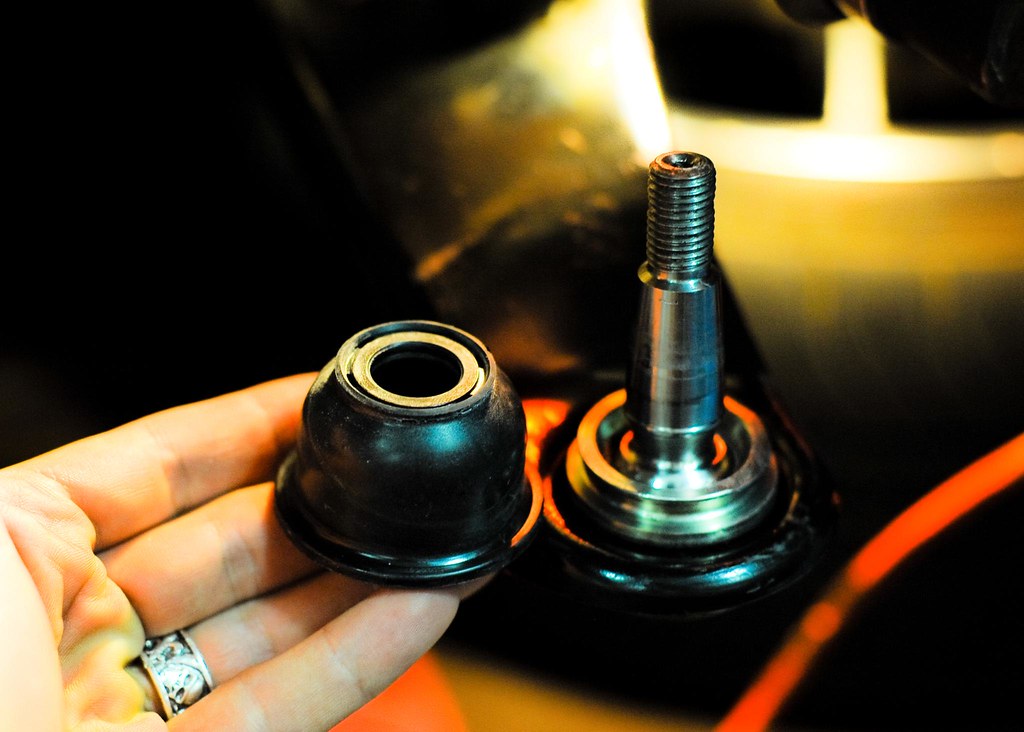
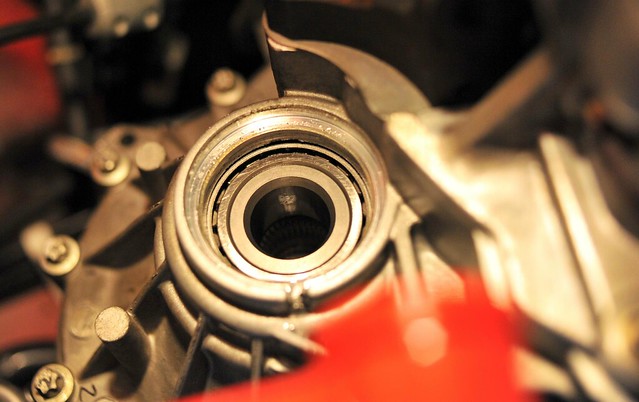
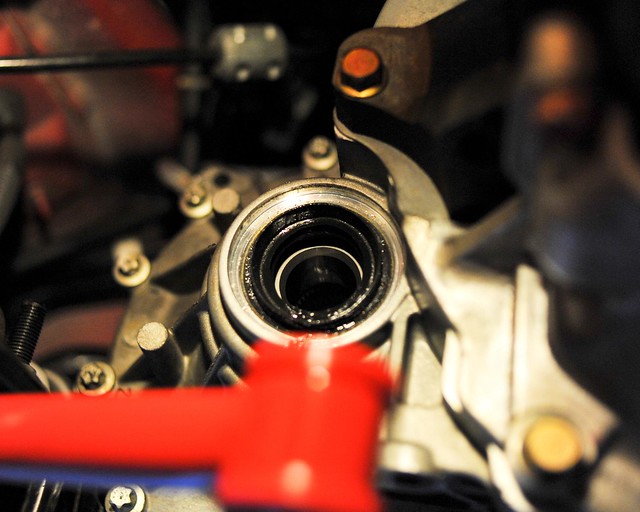
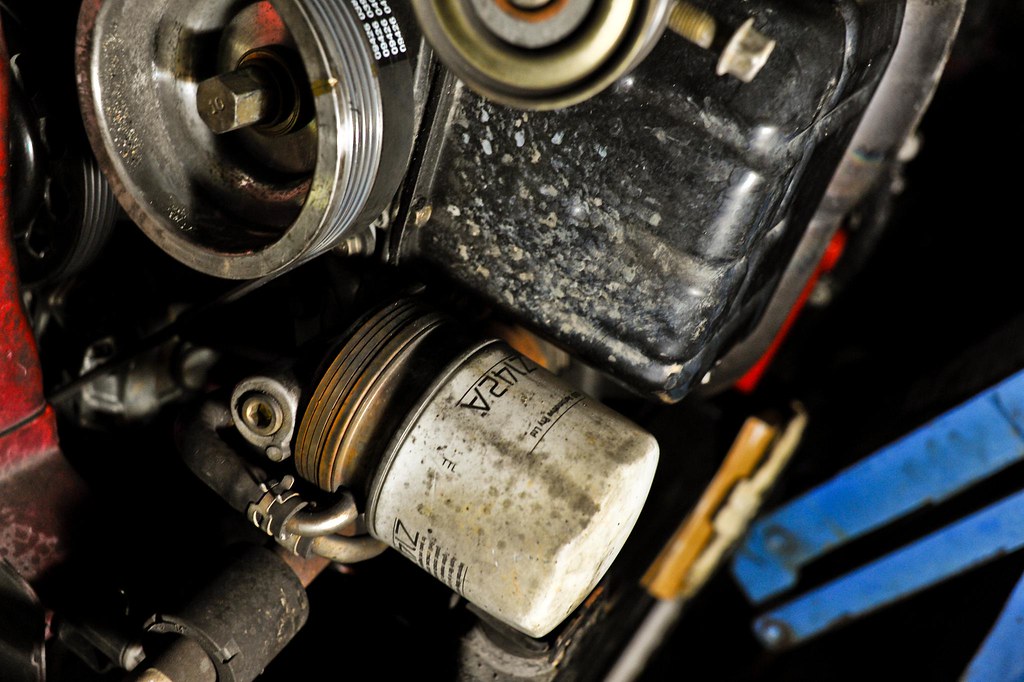
 Took a photo when i was removing the light weight under drive pulley
The z142a is very short, so you don't have to worry so much if you have a lowered car ;)

Plan is that because the evo 9 and other evo use a similar oil filter or can use this one i believe the oil water block should also be interchangeable :)
I am looking at investing in an oil relocation block for an evo and testing it on a colt.

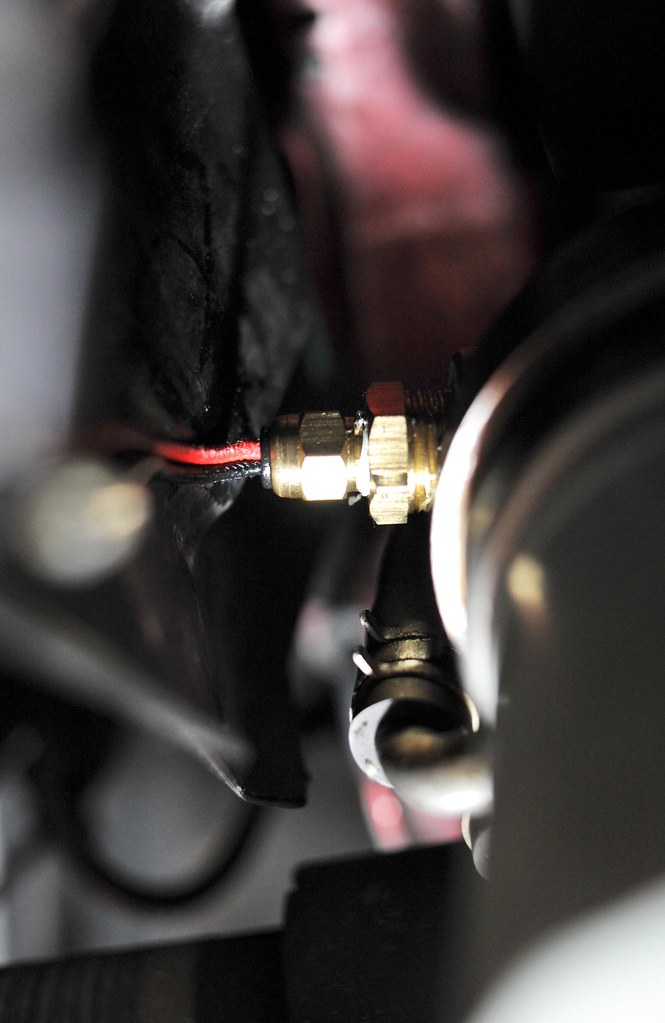
Our water block oil cooler is a M20x1.5mm still need to rip it off and check the top threads.

looking again at the whole oil cooler scene after seeing some cool oil breather/catchcan systems incorporating the PCV valve and the breather.
therefor getting less blow back and oil residue in the intake plenum

so one of the kits i been trying to understand is the whole oil relocation unit + oil cooler
- it starts at the oil relocation adapter [replaces the oil filter original location mount/assembly]
  - engine out goes to > core in
  - core out > filter in
  - filter out > engine in
One of the threads i found use an inline thermostat from Greedy.
This allows the oil to heat up quickly.

another style is where the oil filter relocation block has 2 sets of in and outs
 - 1 output goes to the filter
 - 1 output goes to the oil cooler
 - 1 input comes from the filter
 - 1 input comes from the oil cooler
this style can use an oil termostat within the relocation block

the YR advance unit i read about does something similar minus the oil filter relocation unit
it replaces the stock water cooled oil element thing for a billet aluminum black with a thermostat inside
it has oil out and oil in to connect the oil cooler.

http://www.yr-advance.com/colt/gazou/colt064.jpg
http://www.yr-advance.com/colt/gazou/colt065.jpg
http://www.yr-advance.com/colt/gazou/colt063.jpg
http://www.yr-advance.com/colt/gazou/colt061.jpg

Mocal thermostat oil filter-to-engine sandwich plate.

Another Greedy style i have seen is where a relocation block is mounted on the engine
 - engine out goes into the oil filter
 - oil filter out goes to the oil cooler
 - oil cooler out goes back to the oil filter relocation block and through to the engine
Basically the oil filter relocation block has 2 x in and 2 x out
I assume it is getting filter on the oil engine out and not the oil return.
Wouldn't want and particles going into the oil cooler.


MISHIMOTO - http://www.mishimoto.com/ - UNIVERSAL 10 ROWS 

MODEL MMOC-U (Silver, non-thermo), MMOC-UT (Silver, thermo), MMOC-UBK (Black, non-thermo), MMOC-UTBK (Black, thermo)

CORE 12.91" x 2.81" - THICKNESS 1.97"

INCLUDES
(1) - 10 Row Oil Cooler (Silver or Black)
(1) - 4ft 9in Stainless Steel Braided Hose w/ -10AN fittings -- One straight fitting and one 90 degree swivel fitting
(1) - 4ft .75in stainless Steel Braided Hose w/ -10AN fittings -- One straight fitting and one 90 degree swivel fitting
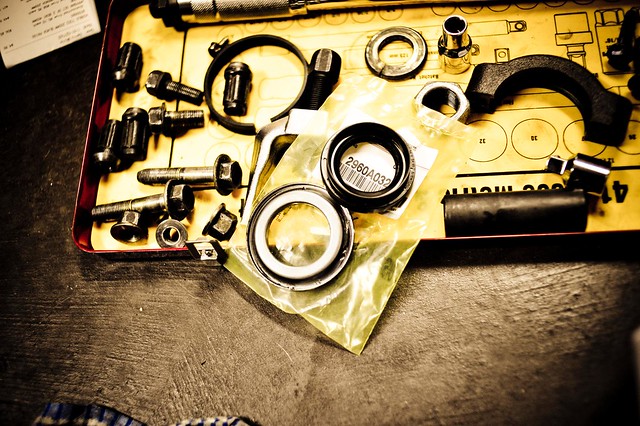
(1) - M20 Thermostatic Sandwich Plate (Non-Thermostatic Available)
(2) - -10AN Fittings
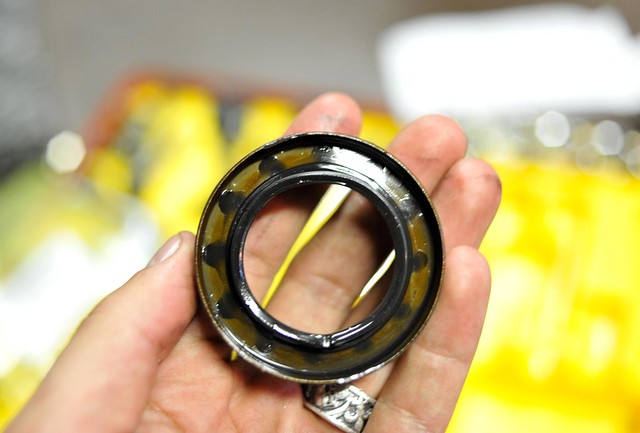
(2) - Dowty Oil Seals
(1) - Large O-Ring
(2) - 1/8" NPT Allen Key Plugs
(2) - Sandwich plate adapters

DASHES
No dashes = M20 x 1.5 -- M20 x 1.5
2 dashes = 3/4" -16UNF -- 3/4" -16UNF

BRAIDED HOSES 4ft .75 inch & 4ft 9 inch

BRAIDED HOSE FITTINGS -10AN

SANDWICH PLATE FITTINGS -10AN

CAUTION
It is the installer's responsibility to check all thermostat plugs, NPT plugs, line fittings, and other connections to assure they are fully tightened before operating the vehicle. Mishimoto recommends that you check all connections at regular intervals, especially during the first few miles after installation. For additional technical information, contact sales@mishimoto.com.

INSTALLATION TORQUE SPECS
15-25 ft/lbs (operating range) for all straight fittings and banjo bolts. Do not exceed the maximum torque rating of 35 ft/lbs.

Dust Cover - Ball Joint Hub Boot Replacement

z27ag ball joint dust boot replacement!
i think i was supplied with the wrong boot.
i couldn't get the spring steal clip on @_@
so either i gonna use some zip ties or metal wire
used some high temp bearing grease after cleaning the ball joint
took measurement so i can buy universal one later.

Home brew radiator hose ball joint dust boot cover :D


I ended up buying a universal one.  As I was annoyed with going to and from Mistsubishi.
Apparently the dust boot they given me is for cars that don't use spring clips, they are just held on by the pressure.
I wanted clips, he told me i would need to buy a whole new lower arm as they don't really sell these parts individually.


Went to Mitsu about 4 times, I was the first person in Australia to request this part and the catalogue was wrong.


the measurement i took of this new dust cover include:
height = 29.67mm
top inner diameter = 17.4mm
bottom inner diam = 38.92mm
i also had to buy htb = high temp bearing grease to pack the balljoint


removing old spring clip and broken ball joint dust boot


be cautious not to get and sand into the ball joint or the new grease.
i used degreaser and air compressor to clean the joint


i really think i could of used this ball joint dust cover but i didn't like how there is nothing to seal it on.
but all sizes were very similar except the bottom diameter was a bit larger.


someone on minkara also replaced there
http://minkara.carview.co.jp/userid/257849/car/151807/1977732/note.aspx
17.5 ~ 18mm inner diameter of the upper inner diameter of around 32mm lower

Axle Seal Replacement - 2960A032

had to put a new axle seal in, think we damaged it puttin the lsd in or me puttin the axle back (i think or just coincidence)

do note my new axle seal also had some minor damage @_@ hope it holds up, its on the outter side though

Replacement part numbers: 2960A032 gearbox seals, you need two

Parts list:

http://ayu452.blogspot.com.au/2012/10/possible-solution-to-my-cracked-clutch.html


marketing for our forum


me under the car...jacked up and on stands...safety! 


new seal which looks slightly damage and old. manage to pick one up on the same day i needed it :D


 you will have to drop most of your gearbox oil to do this...otherwise when you remove the axle oil will go everywhere.
i removed my front pipe for more working room also


ok...removal process.  remove the axles.
to do so take the hub apart, see a brief description how to do it when i put the lsd in.
once the axles are removed (i only did the driver side, i assume the passenger side is the same method.
there is a notch where you stick a flat head screw driver in and remove the metal ring
you can see the notch in the picture to the left.


Note the ring is already removed.

axle seal, diff case seal, pinion gear seal? its got a bunch of names...drive-shaft oil seal

to remove the axle seal i used a special crowbar style tool called an axle seal remover.
basically a big sharp hook that hooked the inner lip so you can pull it out


the axle seal and out metal cover


to install the ring i used a rubber hammer. do not hot the seal direct either use a big ass socket or an axle seal installer tool.
or what i did was use the metal ring. put the metal ring over the seal and gently tap it in
seal inserter universal kit - a tool used to install these type of things