Thursday, February 27, 2014

How to install my new rear camber shims v1

IMPORTANT
All wheels & wheel fixings must be installed by a competent individual with the necessary expertise to ensure that a suitable product has been supplied, and that it has been fitted correctly.

I will not be held responsible for wheels coming off, premature hub bearing damage and any other issues that could occur due to increased camber & fitment of this product.


Download Installer Guide Here: Shim Template Guide


1degree vs 1.5 vs 2


The Colt is wearing 2degrees.  The right amount to stop scrub.


The items.


Remove:
1) wheels
2) brakes calipers > rotor > ABS sensor
3) four bolt in the rear of the hub

U need:
 - star bits, allows you to remove the brake caliper
 - Thinks it's a 13mm and 15mm and six point star to remove brakes
 - Wire brush
 - Wd40
 - loctite (blue)
 - socket set
 - open end spanners
 - M10x1.5x30mm, i went slightly longer by 5mm (stock from memory is M10x1.5x25mm )

How to remove brakes (a video!):
/z27agrcolt-new-stud-and-how-to-remove.html

/rear-rotor-upgrade-p1.html
/rear-rotor-upgrade-p2.html

Background Information:
/rear-shim-rcolt-draft-design.html
/sending-shims-to-act-rear-torsion-beam.html
/fitting-camber-shim.html

Summary:
/camber-shim-flash-back-for-torsion-beam.html
Basically from no rear camber (stock is about 1ish) to 3 degrees of camber and 4mm of toe, I then used the shim rotation to almost zero the toe. From 4mm I went to 1mm.

Further Reading:
/wheel-alignment-notes-tbc.html

Start Now!

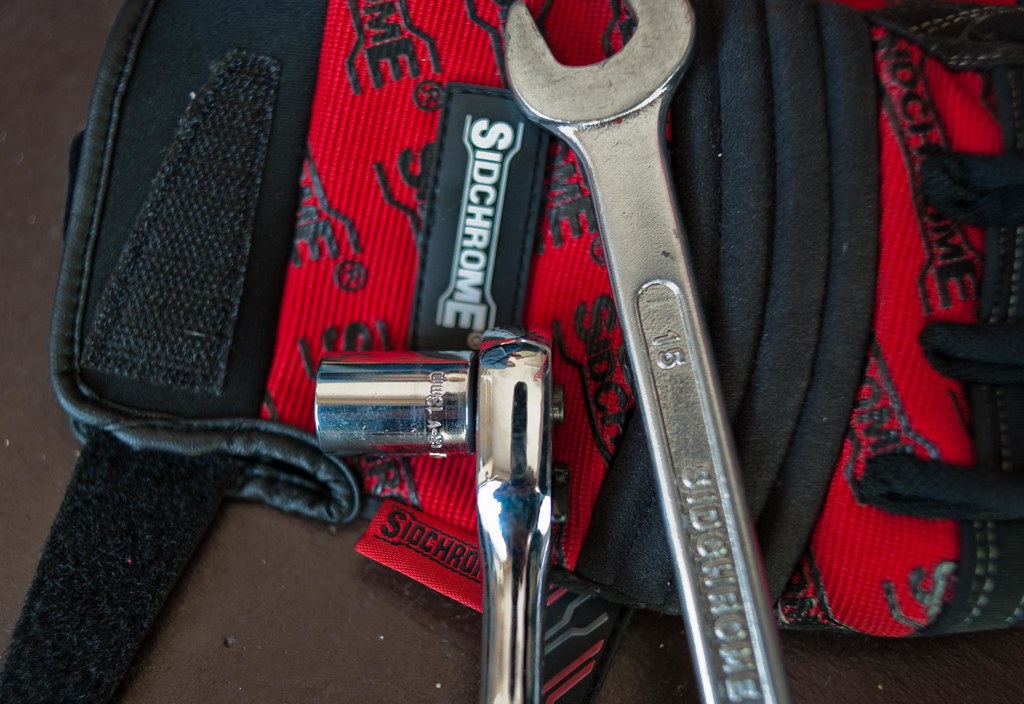
Using the right tools are important, an open end spanner holds the slide bolt from spinning as you take out with the holding bolt, 13mm.


Make sure handbrake is off, you may have to bash the calliper off the disc with a RUBBER HAMMER.


Then you need to remove with calliper mounting bracket with the torx 6pt stars, then the disc and you are left with this.


This is the rear of the hub, remove the ABS sensor first, the wire. Be delicate with it.
Then remove the four bolts holding the hub on, at this point i would snap off the outer heat-shield. Bend it back and forth like you would do with a coke can tab.


Clean surfaces, all mounting faces. Install shim (you can zero it later was the hub is almost tight, stop it slipping). 


Bolting it all together, some people has a notch in there shim, you can use this to turn it with a flat head screwdriver, making sure its zero or where you want it to me. Half way in the notch should give about 3mm of toe. Max I would imagine give about 5mm.
More photos here: /fitting-camber-shim.html
Torque your bolts as tight as you can go. I would tighten each one up evenly, not just do one to the max then the next. Get them all biting into the hub so you know its sitting flat before you torque them.

Tuesday, February 18, 2014

Hub Bearing Replacement - MR594142 / MR594080 / MN102081 / MN102082 - SKF - Front = VKBA6680 - Rear = VKBA3685


/random-rcolt-pics-5-stud-hub-comparison.html

It is a genuine equivalent domestic excellent manufacturers.
It is the product of genuine products number [MR594142] equivalent new goods, one side ( whichever is necessary two left and right Please make a successful bid by two ) price and will be tax. Manufacturers list price ¥ 17430 (tax included)

FRONT bearing number 32329854E SKF BAM-0011 E ITALY A 39 3 2096

*photo from a facebook group


/z27agrcolt-new-stud-and-how-to-remove.html


Front = VKBA6680 SKF 32329854E - 32329854E SKF BAM-0011 E ITALY A 39 3 2096

32510 MR594080 BEARING,FR WHEEL HUB 2
32596 MR594089 SNAP RING,FR WHEEL HUB 2
32515A MN116155 HUB ASSY,FR WHEEL 2

MN102081 KNUCKLE ASSY,LH
MN102082 KNUCKLE ASSY,RH

Rear = VKBA 3685

- MITSUBISHI : MR594142 - MR594142
- SMART : 454 350 01 35 - 454 350 01 35

Width [mm] 121
Outer Diameter [mm] 67
Outer Diameter [mm] 137
Pitch Circle Ø [mm] 114
Fitting Position Rear axle left and right
Weight [kg] 2,78
Required quantity 2
Engine Code 4g15


-----------------------------------------------

MAPCO - Front = 26550 - Rear = 26932
FAG - Front = 713 6197 70 - Rear = 713 6610 20
SKF - Front = VKBA6680 - Rear = VKBA3685
FEBI BILSTEIN - Front = 32970 Rear = 32580
BTA - Rear = H25044BTA
BLUE PRINT - Front = ADC48252
SWAG - Rear = 80 93 2580
NK - Front = 753017

-----------------------------------------------

REAR:

Factory Number
FAG 713661020 / FAG 713 6610 20 Wheel Bearing Kit
SPIDAN 27543
RUVILLE 8705
SKF VKBA3685
METZGER WM2130
FEBI B... 32580
OPTIMAL 402467
MITSUBISHI MR594142

MITSUBISHICOLT VI (Z_)200406 - /
MITSUBISHICOLT Convertible (RG)200605 - /
SMARTFORFOUR200401 - /

-----------------------------------------------


FRONT:

Rim 4 -Hole
Flange R 137 mm
Outer Diameter 75 mm

Factory Number
FAG 713619770 / FAG 713 6197 70
RUVILLE 8959
SKF VKBA6680
TRISCAN 853042116
OPTIMAL 401167
IPD 301977
AUTEX 802982
MITSUBISHI MN102067 / Indirect Cross Interchange
MITSUBISHI MN102068 / Indirect Cross Interchange

Head Gasket Mystery - 1005A862 & 1005A758 & 1005A886


Head Gasket Mystery - 1005A862 & 1005A758 & 1005A886 - I am led to believe are slightly different

Triple Checking Gasket Cross Reference!!!!!!!!!!!!!!!!!


Ok i have a new 1005A886, I also found this same gasket on the wreck motor I have which is from a 2006 model Ralliart Colt.


Juri motor has the water jacket holes. He bought his in a kit. Yet to confirm PN


Intake manifold - MN143690
Pictures from the Ralliart Colt Workshop Manual->
Also note we use the same exhaust manifold gasket as a 4G18 - MR552763


The Victor Reinz gasket manual (PN# 61-53975-00 ) shows a 1005A862 with the water jacket openings. (2003/2005)


You can see here all 3 are cross referenced as the same gasket. Yet I believe they are different


The 1005A886 is show in the similar fashion as the 1005A862.


This motor gasket is stamped 1.5-886 (its from an 2006 Ralliart Colt)


You can see the water jacket holes are also covered, they use small openings. Just like my new head gasket. Which is also stamped 1.5-886.

Looks like Adams is also a 1.5-886 (below image, not sure what 811 is though, this number varies) with the small pin hole water jacket holes. Mystery continues


<- Juri old head gasket with the extra water channel openings. Waiting for his stamped numbers
EDIT - this is a Victor Reinz gasket
Donated by: Juri


<- Head gasket from a Brabus 15-862 (571)

Donated by: Migo Black Fantom

"I know not, I am in Europe in France
Already quite a lot of parts are different between colt czt ralliart and Brabus"


------------------------------------------------------------------


Brand:MITSUBISHI
Part Number(s):1005A862
ProductName:Cylinder Head Gasket

MITSUBISHI 1005A862
MITSUBISHI 1005A758
REINZ        615397500
HERTH+... J1255066
GLASER        H4031700


------------------------------------------------------------------
I asked Mitsubishi:

Q: Just curious can you see the differences on these two head gaskets 1005A862 & 1005A886.
A: Smaller holes in the gasket compared to a large cut out
   My only guess would be the smaller hole in the gasket leaves more gasket to do the sealing?

------------------------------------------------------------------

1005A886 ?????
Mitsubishi»GE»Z27W»LTFFR»ENGINE»CYLINDER HEAD
Mitsubishi Colt Z27AG XNGF5 RA VER-RS (Turbo/2WD), 5FM/T

01210 1005A758 GASKET,CYLINDER HEAD 1
01210 1005A862 GASKET,CYLINDER HEAD 1
01210 1005A886 GASKET,CYLINDER HEAD 1

Engine Gaskets / cylinder head gasket KP Cylinder head gasket KR KA403328 4G15  1005A886
Engine Gaskets / cylinder head gasket KP Cylinder head gasket KR KA403326 4G15  1005A862
Could be year based?

http://www.partsbase.org/mitsubishi/colt-colt-plus-g-exp-ge-2003-z27a-xngfr8/

01210 1005A862 GASKET, CYLINDER HEAD. Period: 2005.12.1-2006.05.3; 01
01210 1005A886 GASKET, CYLINDER HEAD. Period: 2006.06.1-2006.11.3; 01
01210 MN119019 GASKET, CYLINDER HEAD. Period: 2003.06.1-2004.11.3; 01

------------------------------------------------------------------

Head Gasket - 01210 PN# MD331145 - Is what i believe i have been seeing.in some of the links where the water jacket holes are different. As seen here /rcolt-rebuild-pick-list-part-numbers.html

Other -
MD355550 - BOLT, CYLINDER HEAD. Period: 2002.10.1-2006.05.3; Part Spec: WASHER ASSEMBLED,9X101.4; Shape: WASHER ASSEMBLED; Size: 9X101.4

For cross referencing part numbers: http://www.partsbase.org/

------------------------------------------------------------------

Head castings?


Adams Head


Adams and a Rcolt 2008 head.


<- Unknown
2008 ->


<- Unknown


Monday, February 17, 2014

Final Stage of a Forged 4G15 MIVEC Build - 1005A886 & MD372536 & MN119379


/4g15-mivec-forge-build-nearing.html

Its been a long road but we are back at it!
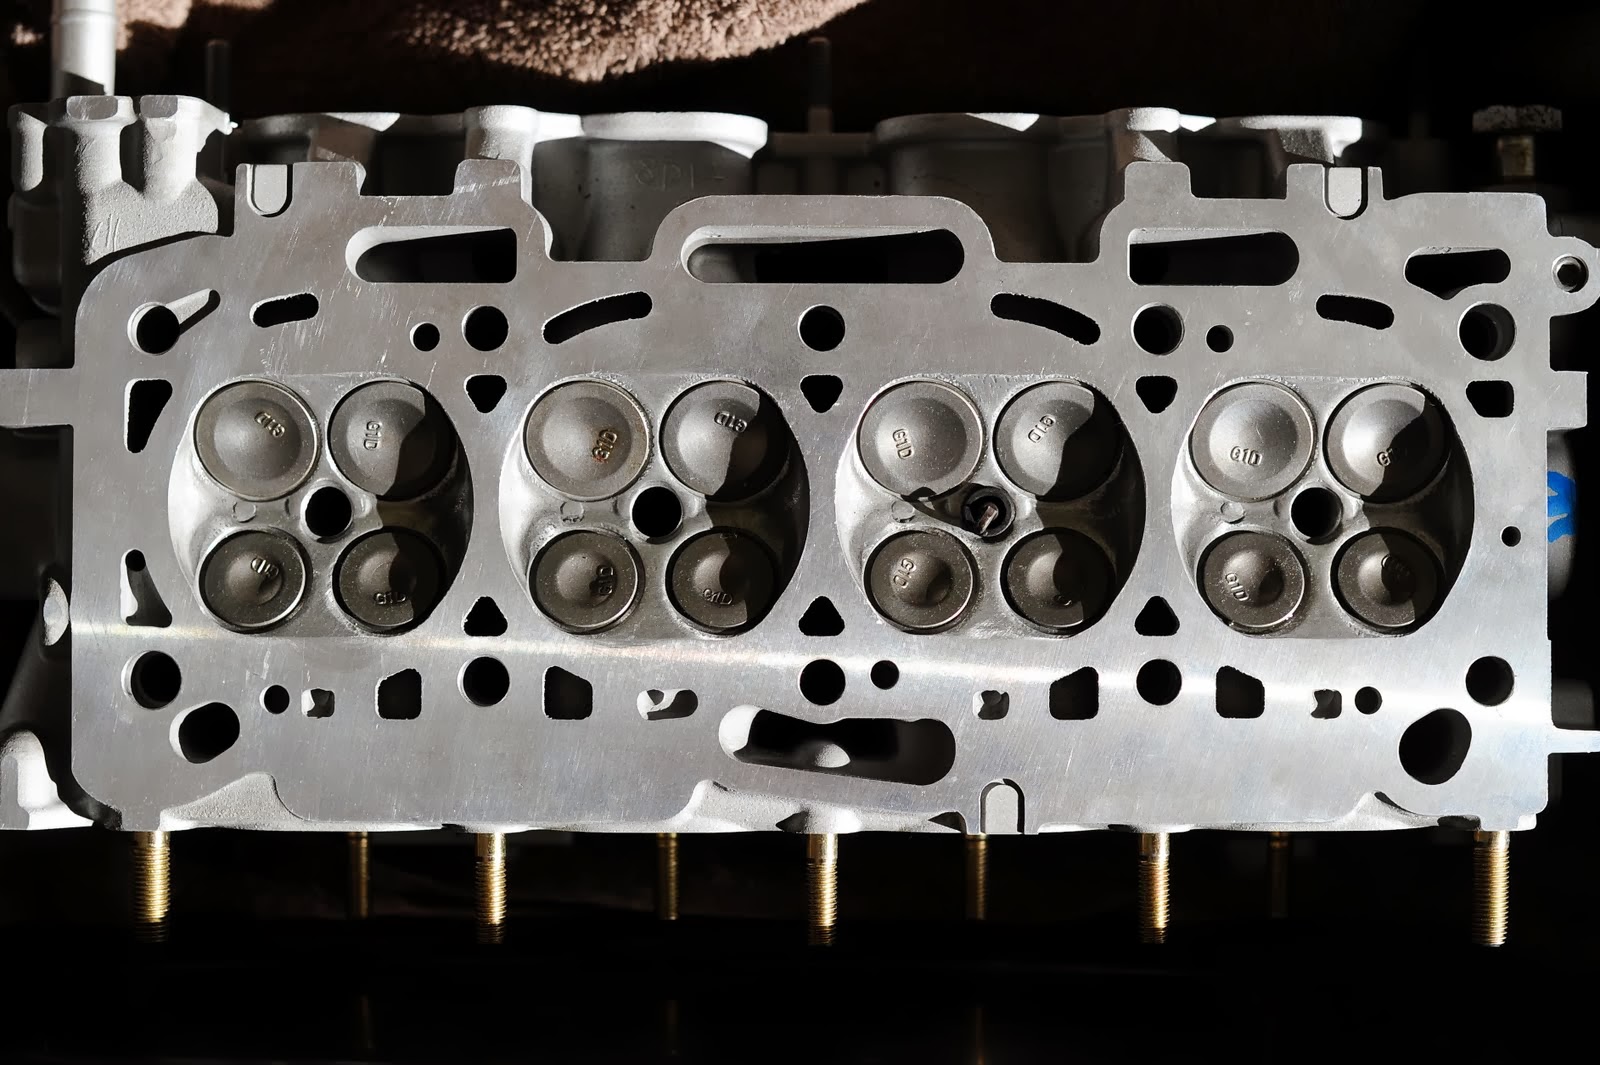
Head has been modified & bolted down with the OEM MLS head gasket.

/4g15-crank-installation-arp-main-studs.html


We didn't use any copper gasket spray as previously planned.
Head studs were torqued to 50NM, released and re-torqued to 85ftlb (3 step process).

/z27ag-4g15-oil-port-modification-head.html


We installed the studs dry into the block, we bottomed out all studs but the ones in the doles?
For some reason these holes were too deep and wouldn't allow for enough thread engagement on the nut, so we backed them off by one turn.
I may go back and release the studs and torque them once more.


/piston-ring-gaping-for-4g15-mivec-rcolt.html

ARP Moly lube on all threads, washers and nuts
Part Number:201-4302 Application: BMW 2.5L-3.2L (M50/S50US/S52US) Inline 6-cyl


/big-end-oil-clearance-crank-endplay.html

Build Parts:
1005A886 & MD372536 & MN119379

/rcolt-engine-build-update-assorted-parts.html

/4g15-mivec-rcolt-headjobs-porting-and.html


Cam seal install & cam gears


Grey RTV to seal the end cam caps


Re-using seal, grey RTV to be double sure.


Powder coated rocker cover, it really cleans up the engine


<- Timing belt installation tools, setting timing marks TDC


OK! so after installing everything i forgot to install the steel brackets that support the upper half of the timing cover. So i pulled the MIVEC cam forward so i can fit the M10 and properly mount the bracket.
It wasn't needed, but I wanted to do it right.

We decided to remove the aircon, it weighed 8kg. It makes the engine bay so much cleaner. Extra room to fit the motor